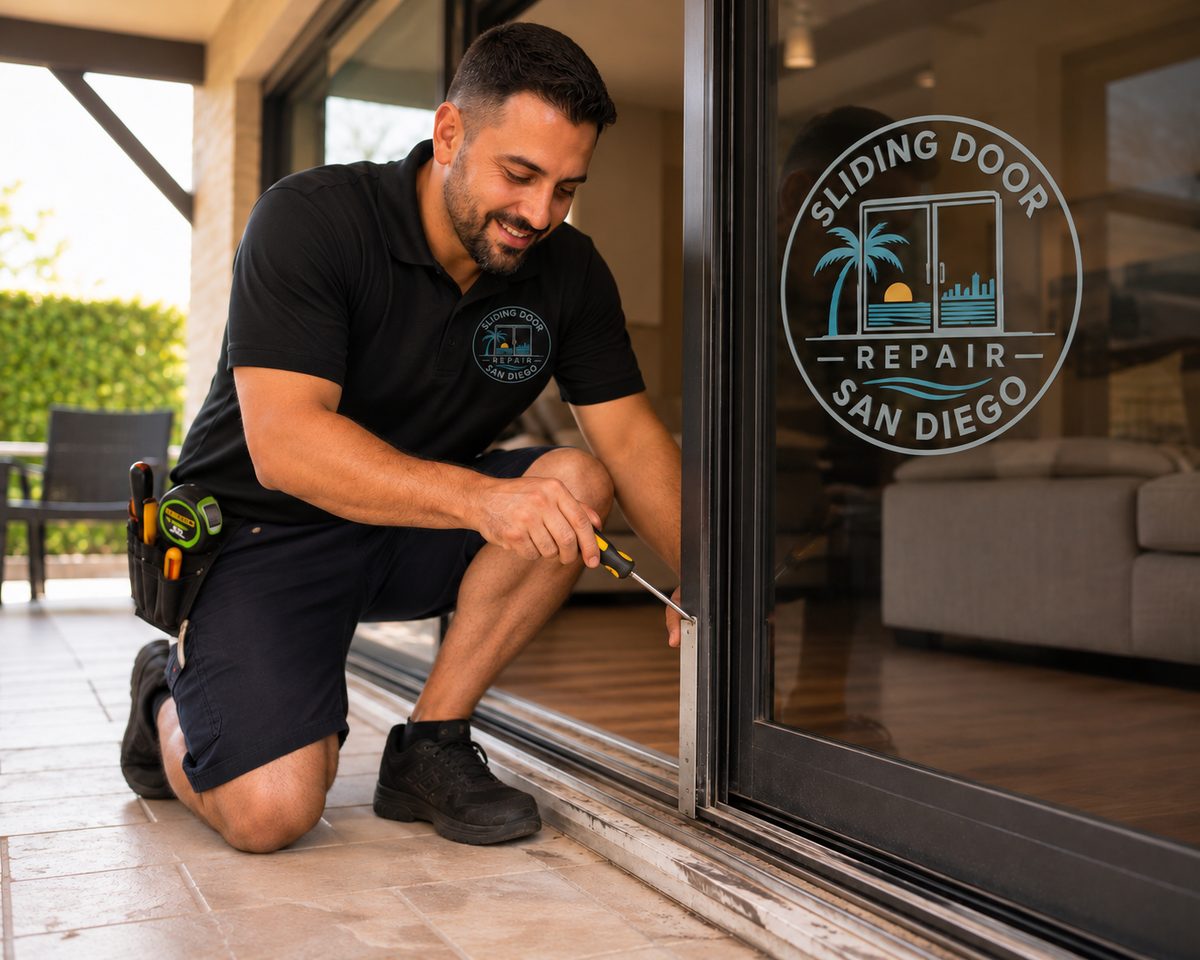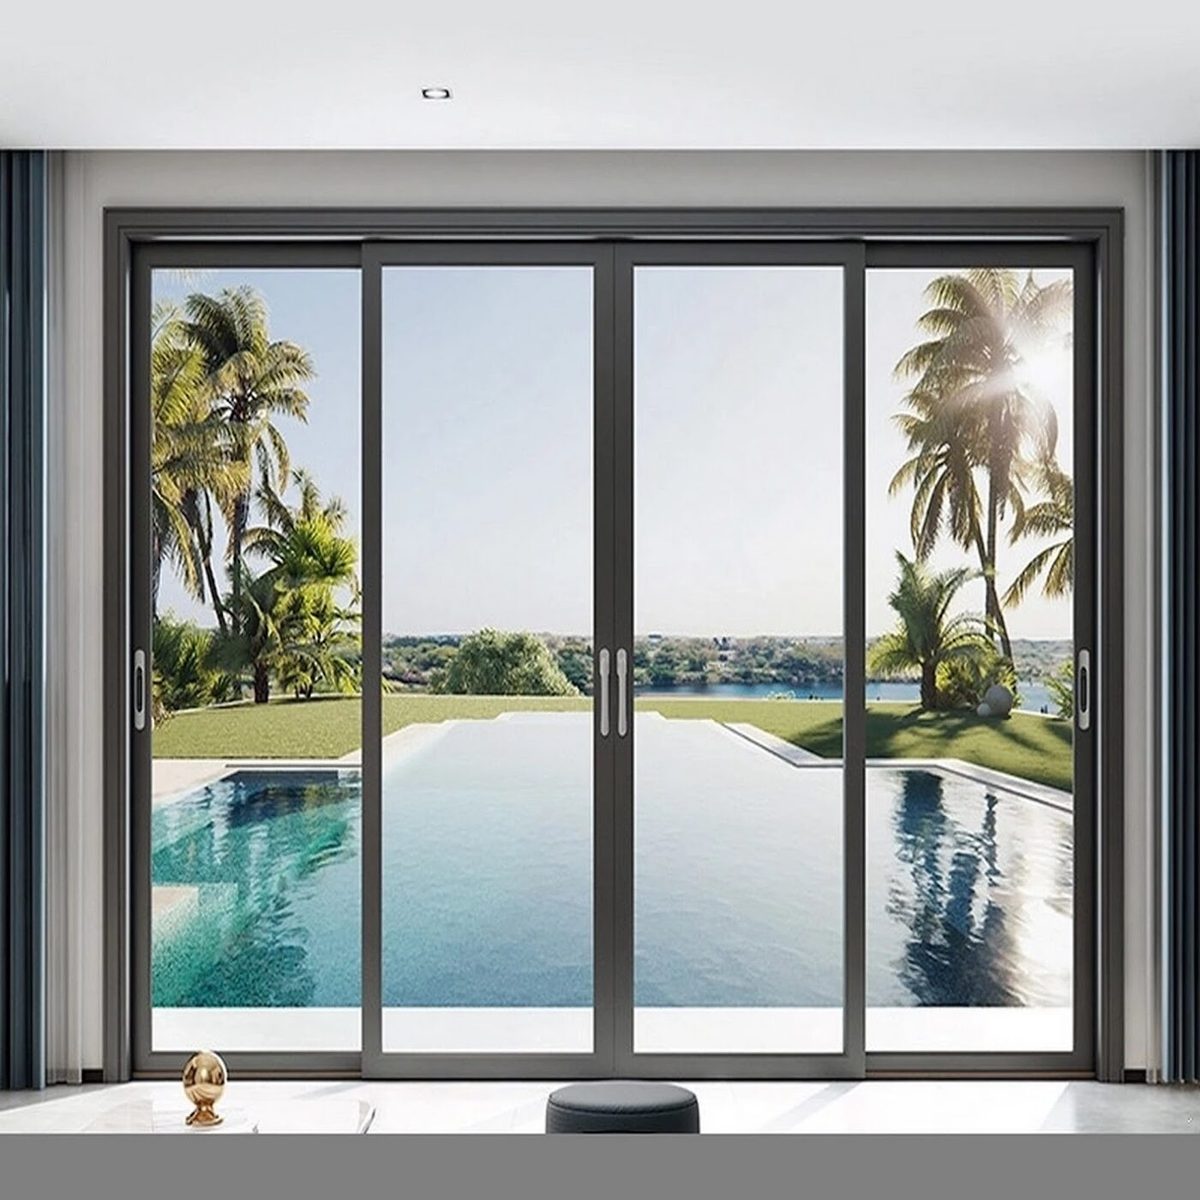
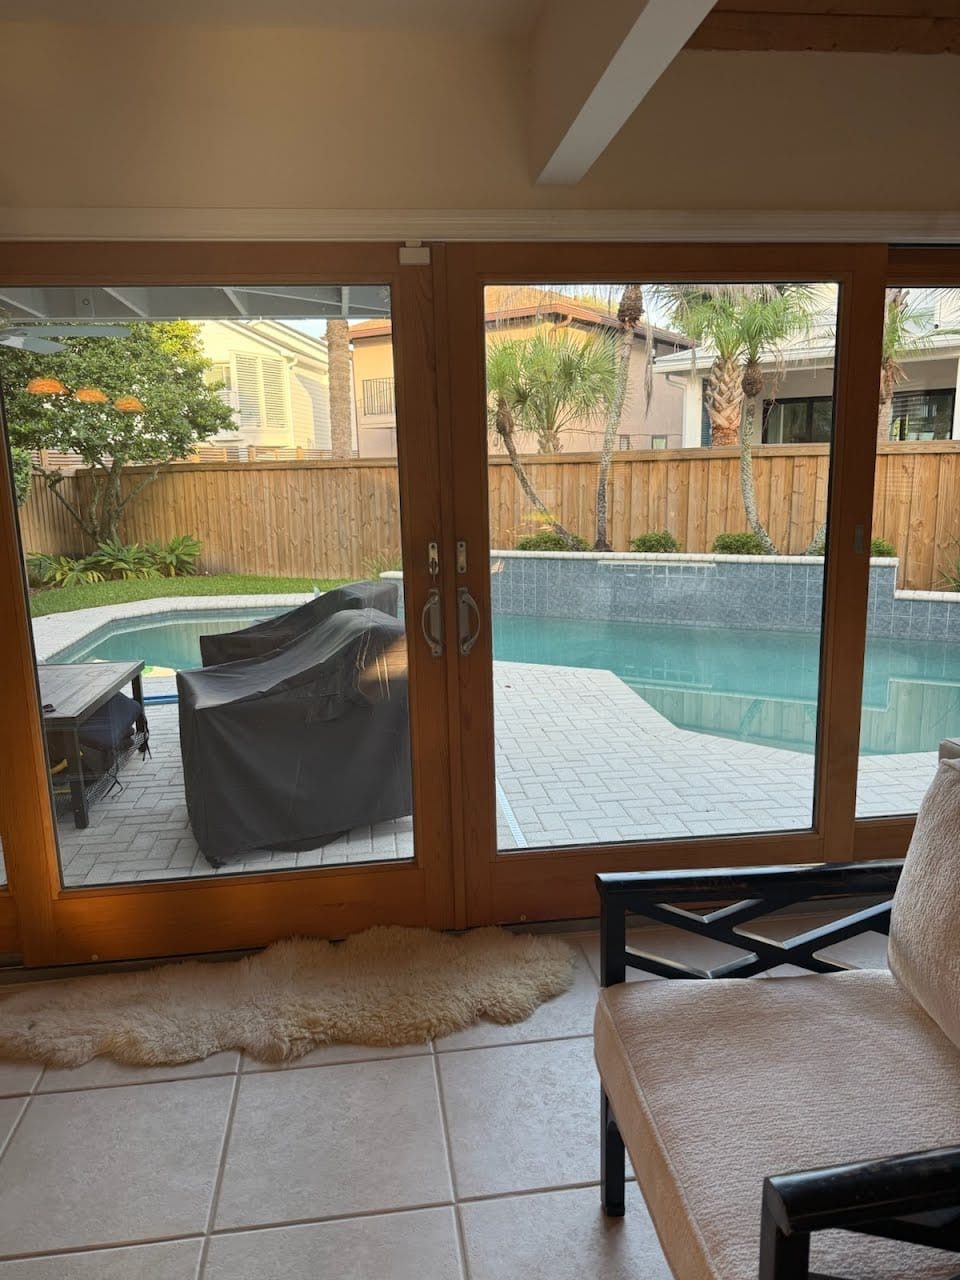
A rub is useful because it often has an address within the door. It can be at the top near the jamb, under one end, on a weatherstrip or at a center meeting edge. The goal is to see what touches first, why it moved into contact, and whether the panel and opening can maintain the intended clearance after repair.
Pinpoint the contact without forcing the panel
On a stable slider, describe where the resistance starts during ordinary use. A photo of an existing rub mark may show more than a forced movement.
A quiet check in ordinary use helps establish what changed without creating a test that is unsafe. Note the door's position, time of day and whether the panel felt different on a dry day. Take a wide photo before attempting routine care of any accessible surface. For a stable door, describe whether the same problem appears at the same point as it opens and closes. If the glass or panel looks unstable, use previous observations and leave it still. A useful comparison captures the condition you actually experienced rather than an attempt to manufacture a visible result for a recording.
Look for a closing gap that changes height
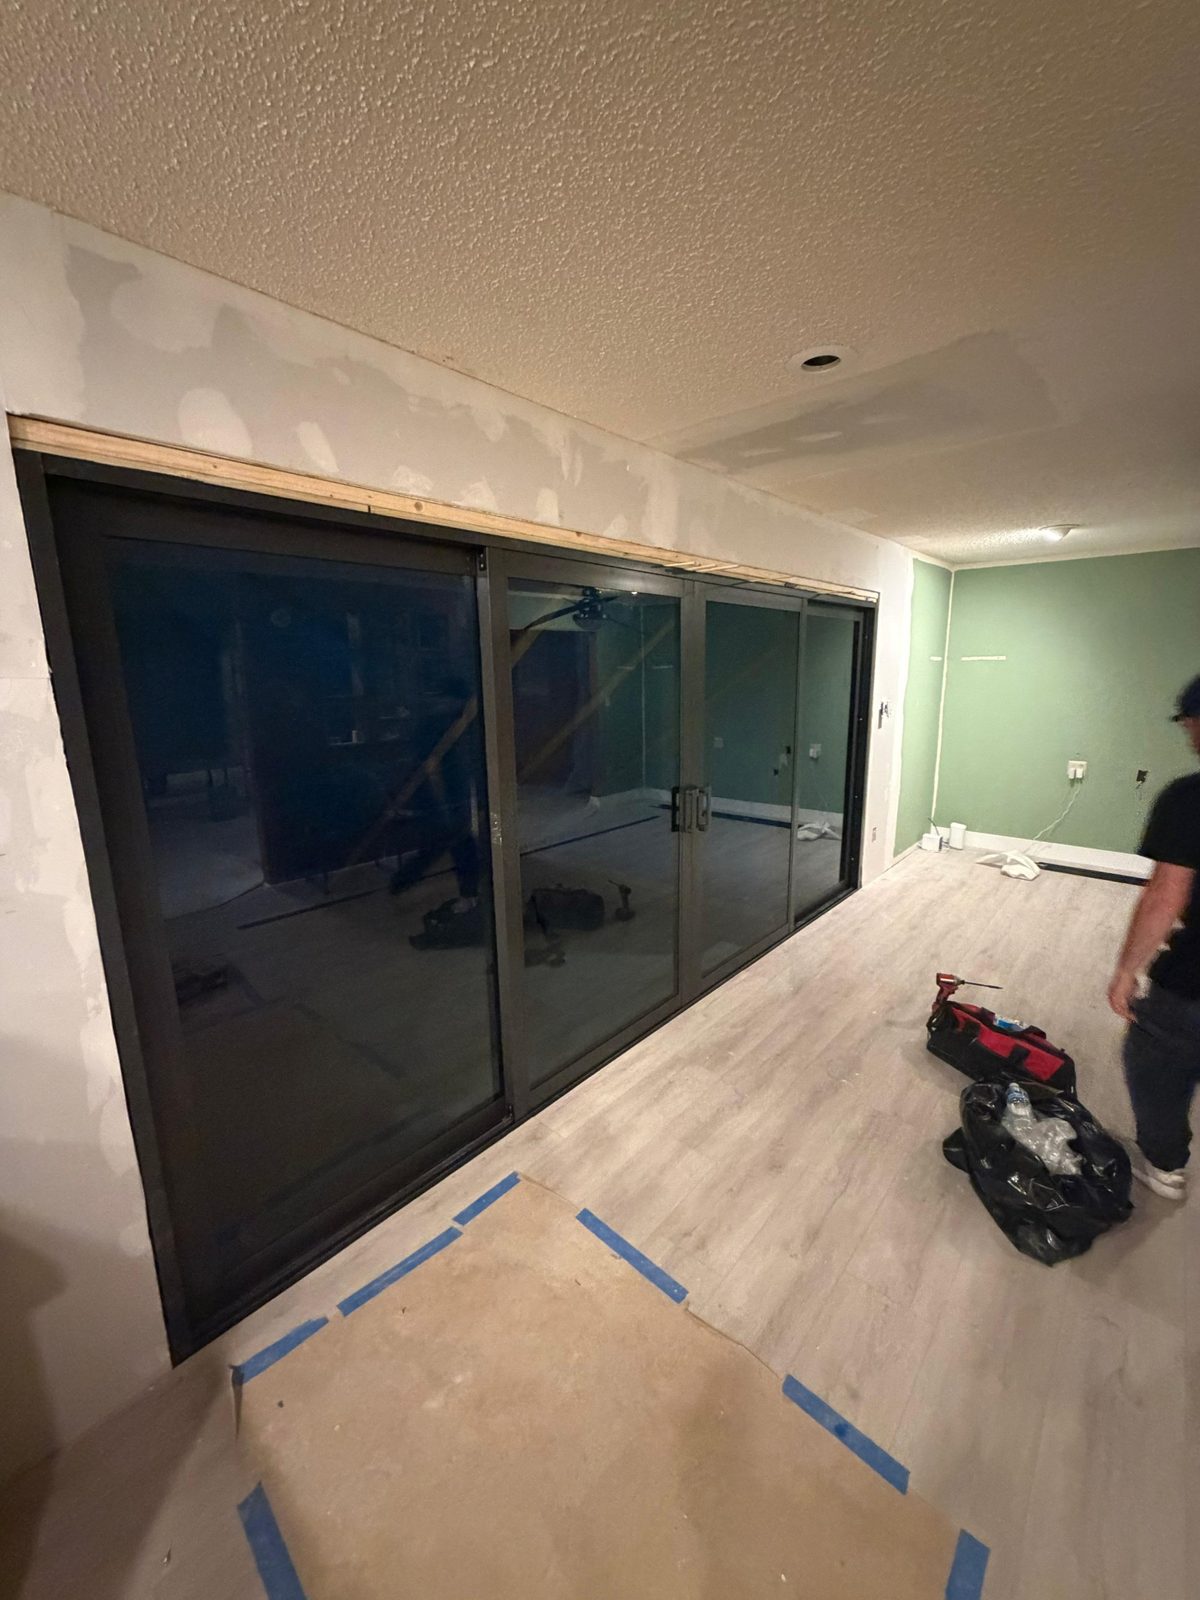
View the full closed opening from inside. A wedge-shaped gap is useful evidence when the problem happens in the last few inches of travel.
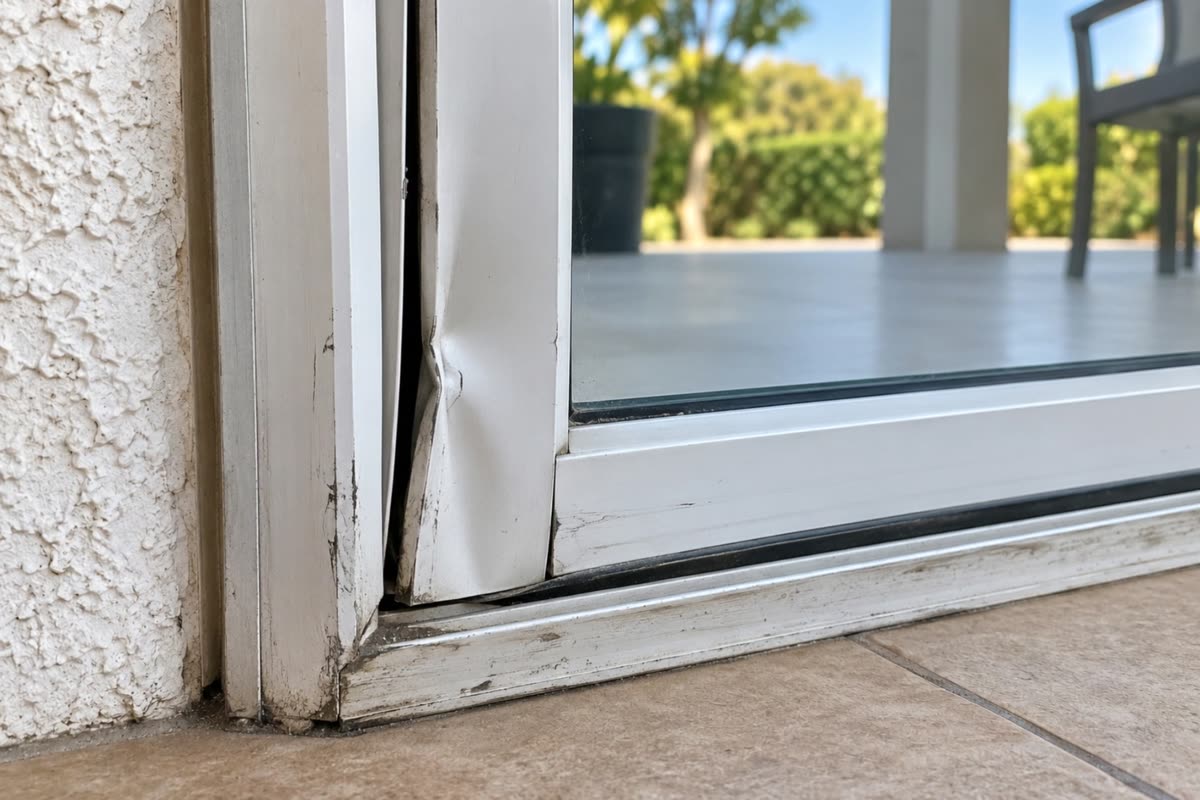
A level-looking door can still miss an opening that is slightly bowed or out of square. A technician checks the relationship between the door and frame at multiple points. A narrow gap at one corner, repeated contact at the same trim location and a changing lock position provide a more complete picture than one isolated measurement. It is useful to mention any recent flooring, threshold or surrounding frame work. Some problems can be corrected by adjusting a sound panel, while others come from a damaged component or movement around the opening. Ask where contact occurs and what needs to be stable for the adjustment to hold.
Check whether the active panel sits low
Note if you lift the handle to close or secure the door. The height check can explain a rub and latch issue together.
Panel height affects more than the bottom of the opening. A door held a little lower at one end can touch the jamb early, leave a wedge-shaped gap and miss the keeper. That explains why the effort at the handle, the closing fit and the lock often change together. A technician can compare clearances at both ends and establish whether the change is a supported adjustment or evidence of a component that will no longer hold its position. An adjustment that moves the panel away from one contact point should also be checked across the full travel and at the latch. Share any earlier adjustment and how long it held.
Consider wear on the running edge
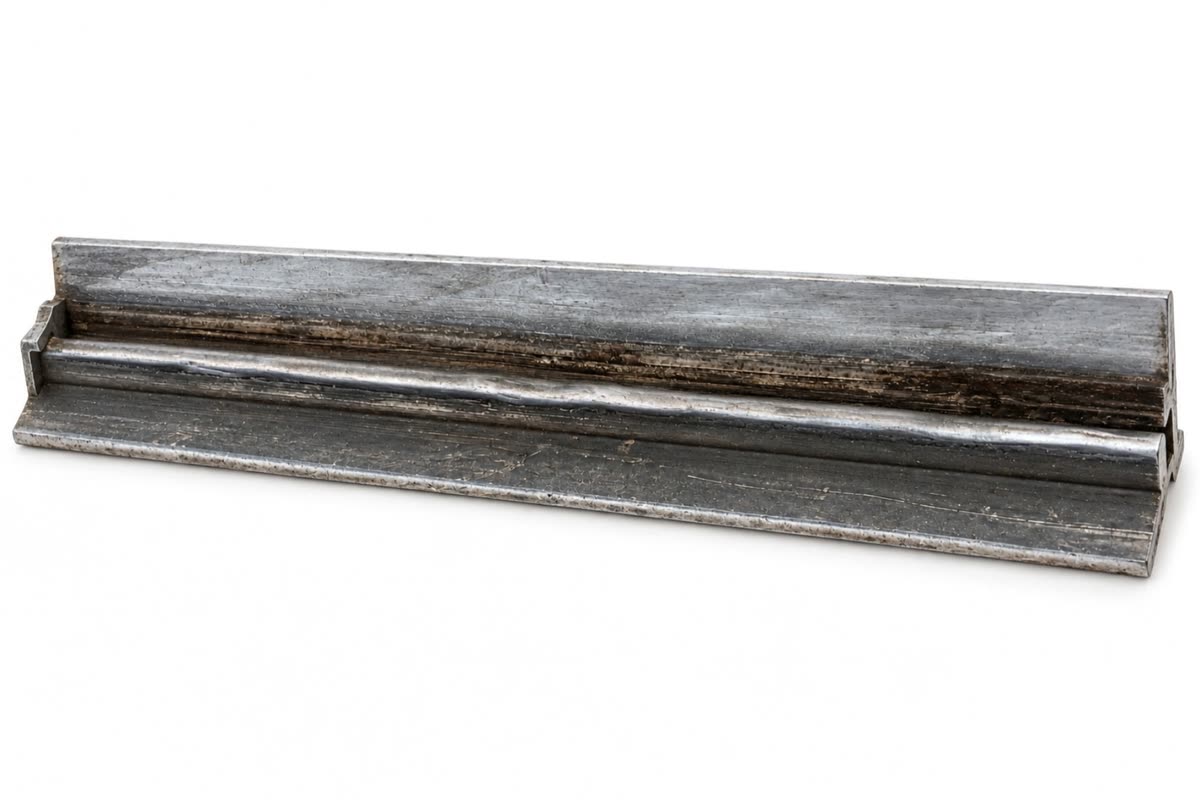
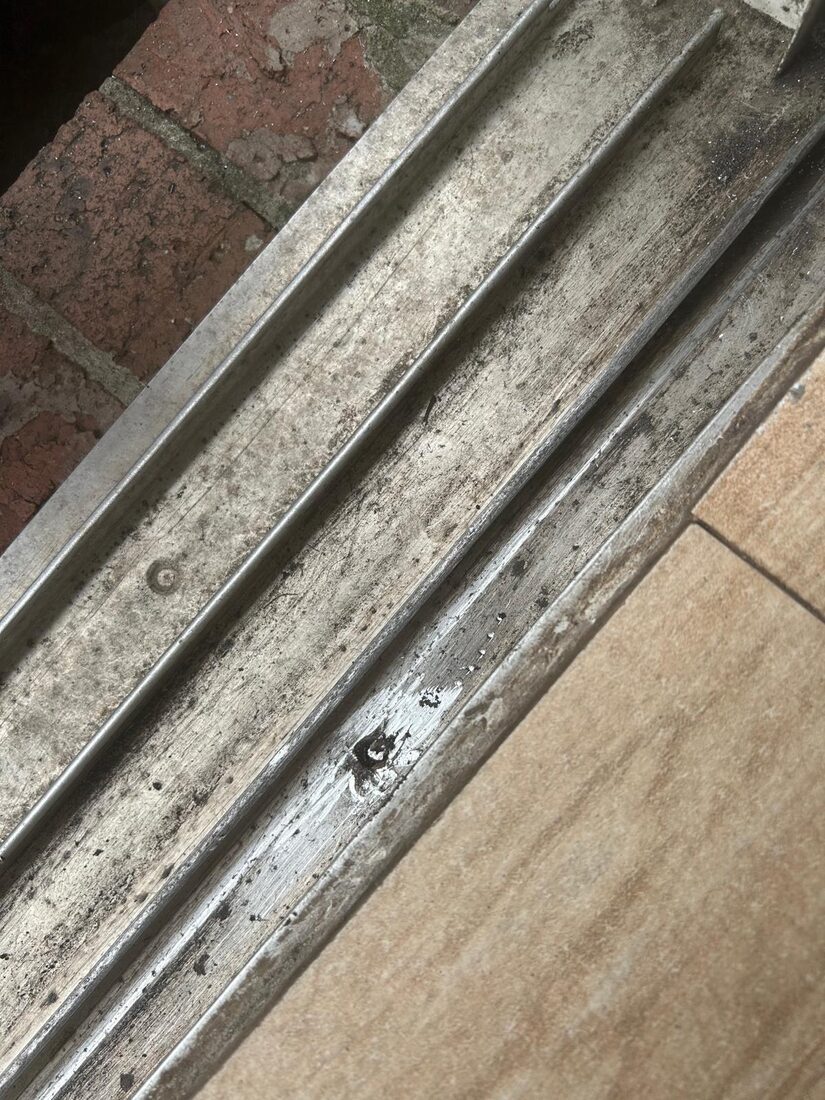
If the scrape appears where the wheel crosses a damaged part of the rail, give the exact position. Mark it in a wide photo.
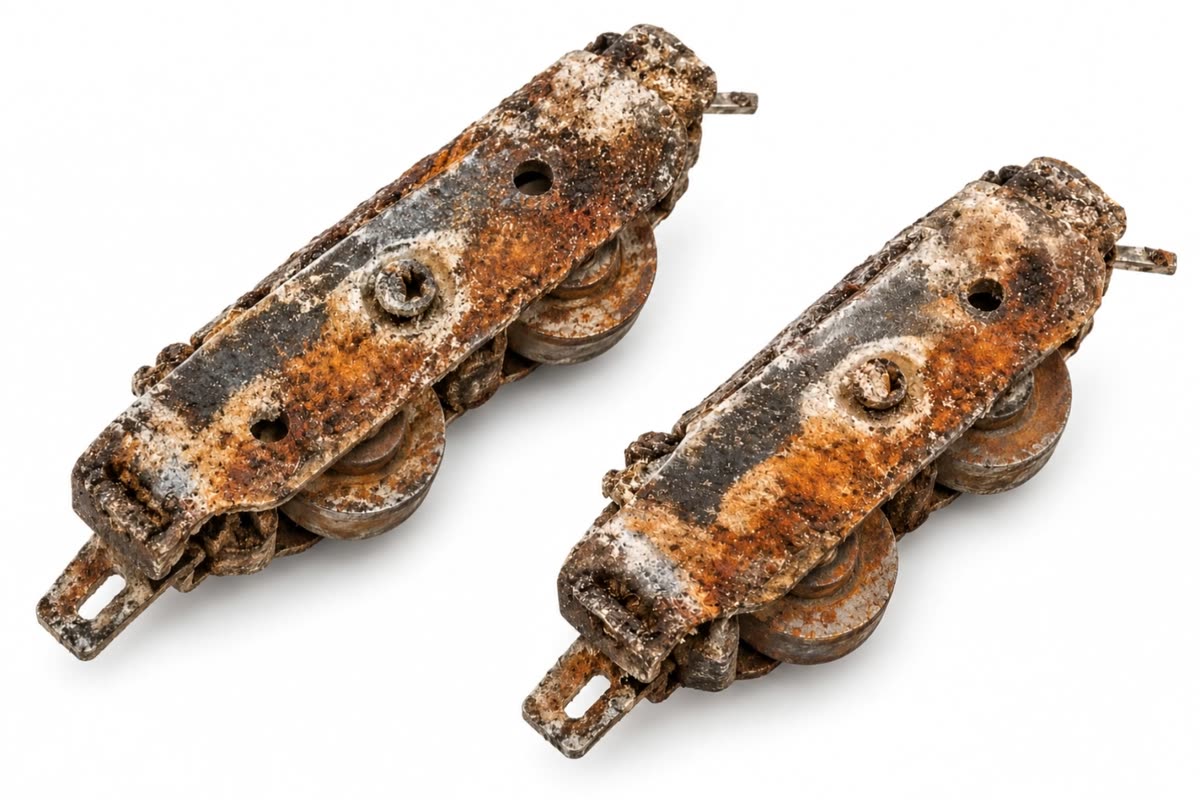
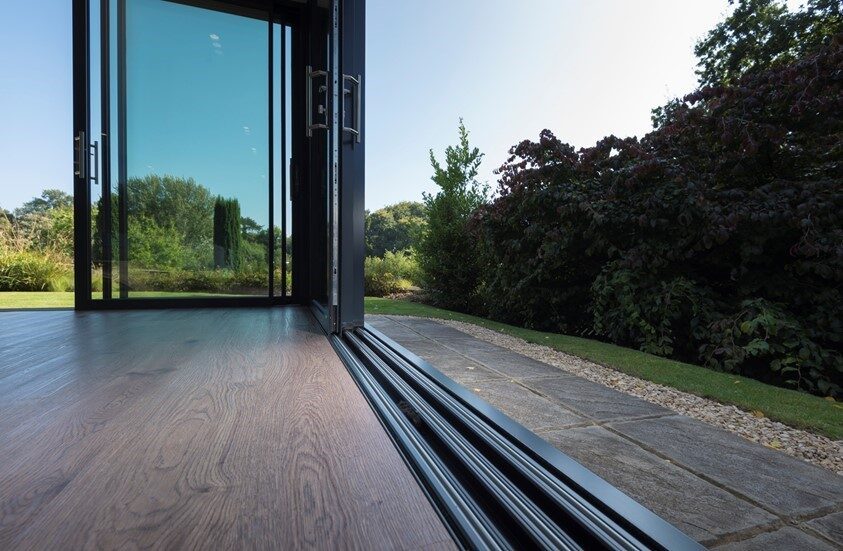
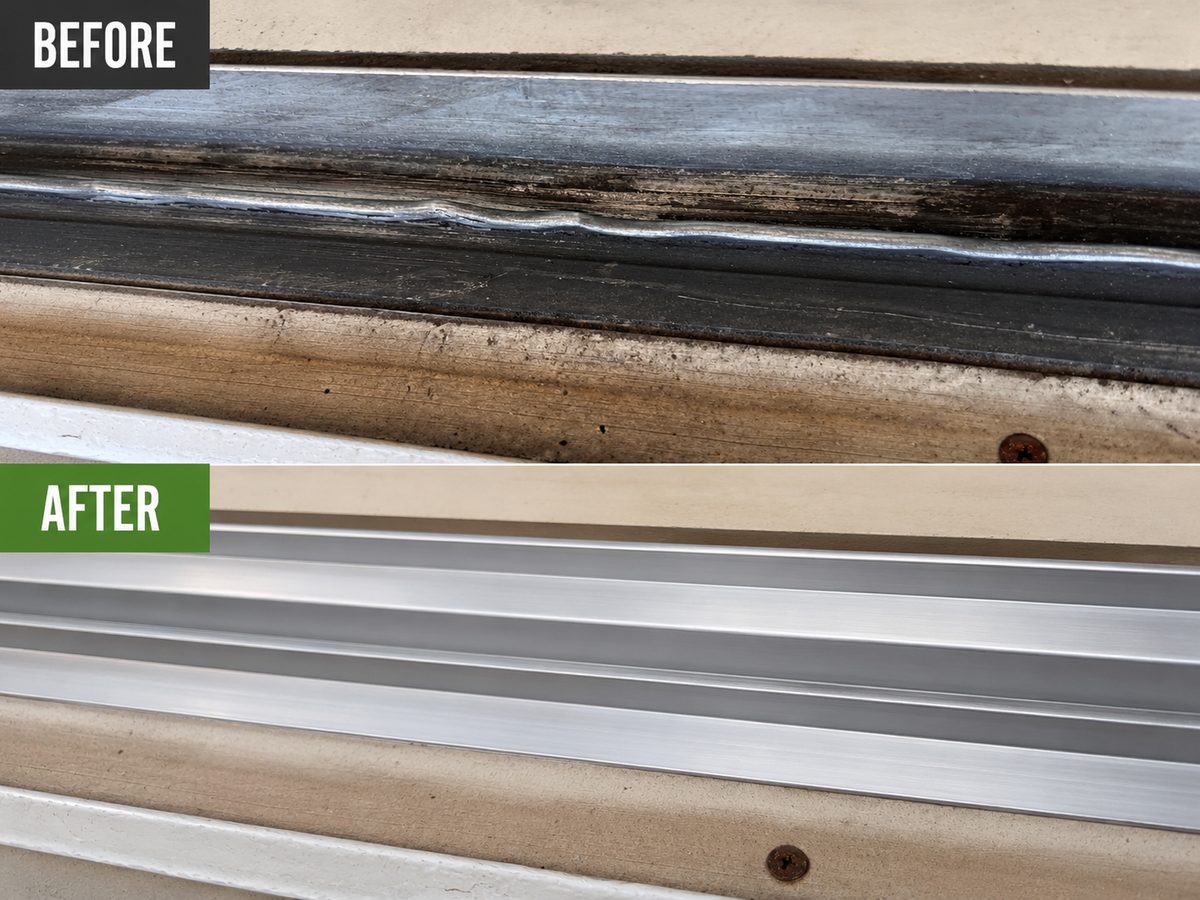
A rail supports weight on a narrow running edge. When the edge is worn flat, dented or interrupted at a joint, it can move the wheel slightly up, down or sideways as it passes. The rest of the sill might still be sound. A helpful examination looks at the length of affected rail, whether it has stable support, and whether its shape matches the wheel. Note the spot from the closed end of the opening, since the position of the handle changes according to which wheel is crossing the mark. Give the whole sill in a photo so the repair team can orient itself.
Observe the center where panels overlap
A scrape down the middle of a closed two-panel door may involve the meeting profiles. Describe whether one end touches before the other.
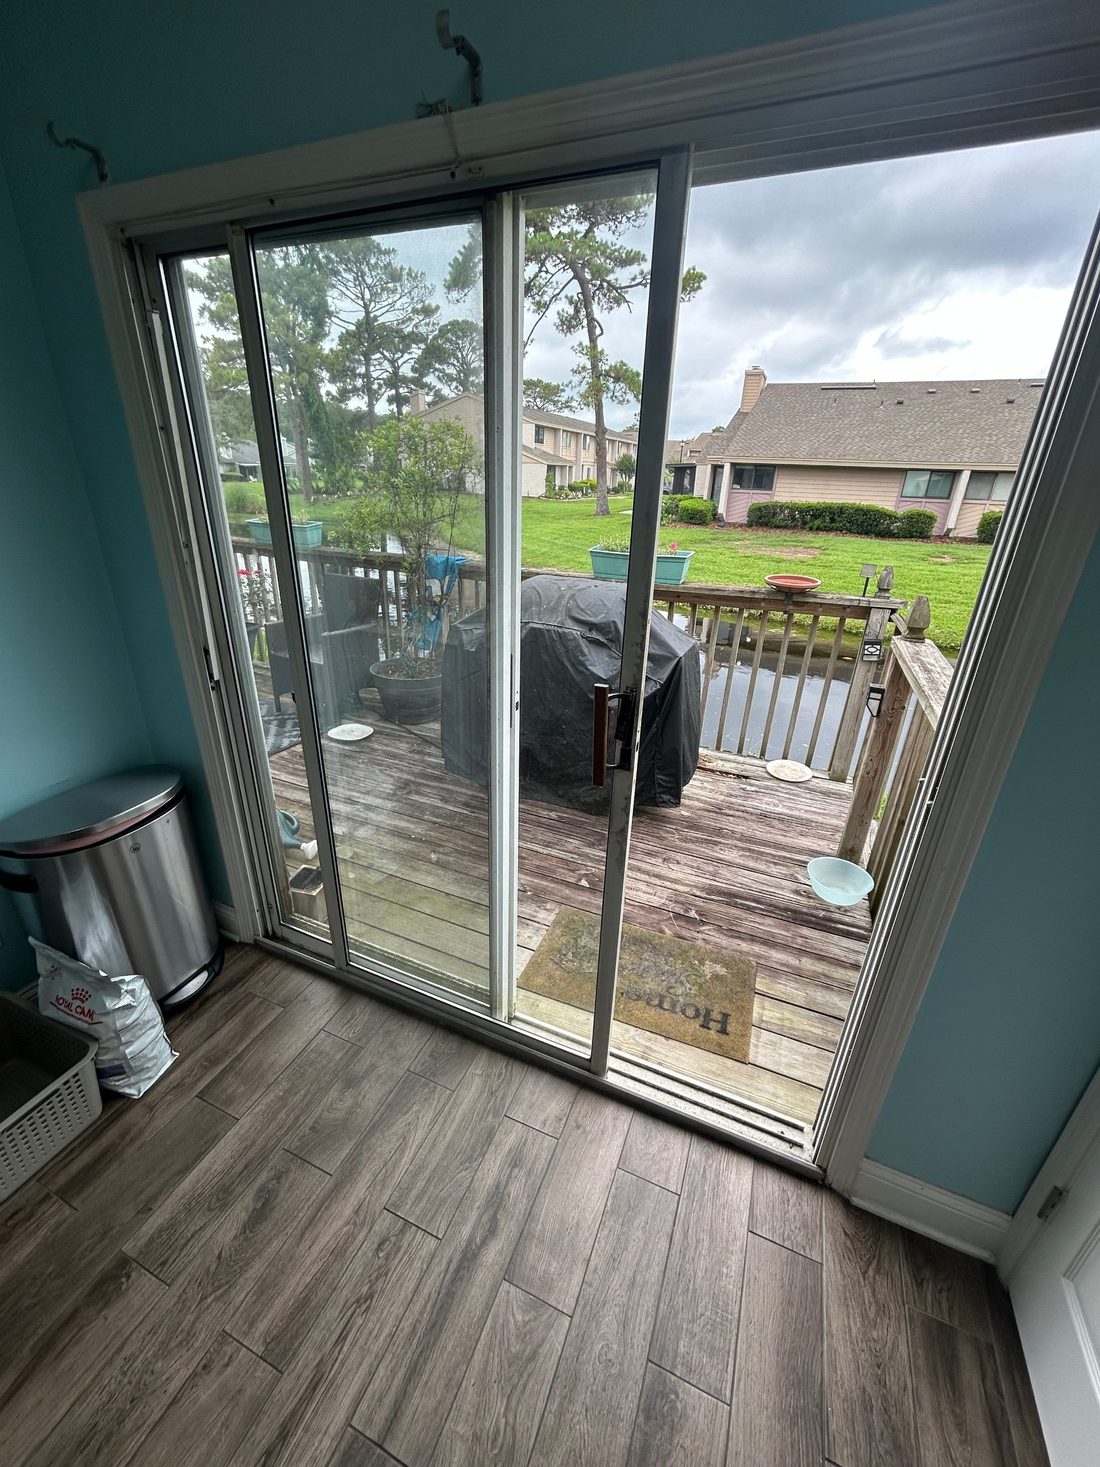
At the middle of many sliders, the moving and fixed panels meet at shaped vertical edges. The profiles may overlap and can have seals intended to contact when the door is closed. A gap here is different from one along the outer closing jamb. Look from indoors at whether the space is even along the height or changes near one corner. A dropped panel, damaged profile or missing seal can affect the overlap. Record whether the panel reaches the latch and whether the meeting edge rubs during travel. A repair should restore the intended engagement of both the middle and the closing side.
Notice an obstruction from a seal
A loose strip can drag across part of the panel or make closing feel springy. Point out where it attaches and when it began to move.
A seal only works where the two intended surfaces meet. Look at the length of the strip and the closing position that brings it into contact. A compressed or missing area can let a narrow draft through, while a loose end can start rubbing before the panel reaches the jamb. On an older opening, compare the attached strip with any loose piece you can see safely. Bring up a recent part change or new drag at the last inch. Ask which fit and contact the technician will verify before changing the seal. A result should preserve movement and usable latching while addressing the original draft or visible light.
Record changes to the opening
If new flooring, trim or patio resurfacing preceded the rub, describe the side and height change. Include photos that show the adjacent surfaces.
Conditions at the edge of an opening can affect the work that is possible on the door itself. A new floor can change the clearance around a sill, and a patio surface or exterior trim can affect how water approaches it. Document changes to the surrounding area and show the full opening. A door technician can identify visible signs at the unit. The assessment can also explain when framing, wall or patio work needs a separate evaluation. Agree on who will handle related work and how the finished transition will be checked. It is easier to coordinate while the parts and access requirements are still being planned.
Check for a separate lock problem
If the latch moves normally until the door reaches the frame, say where it meets the keeper. This is useful even if the main complaint is scraping.
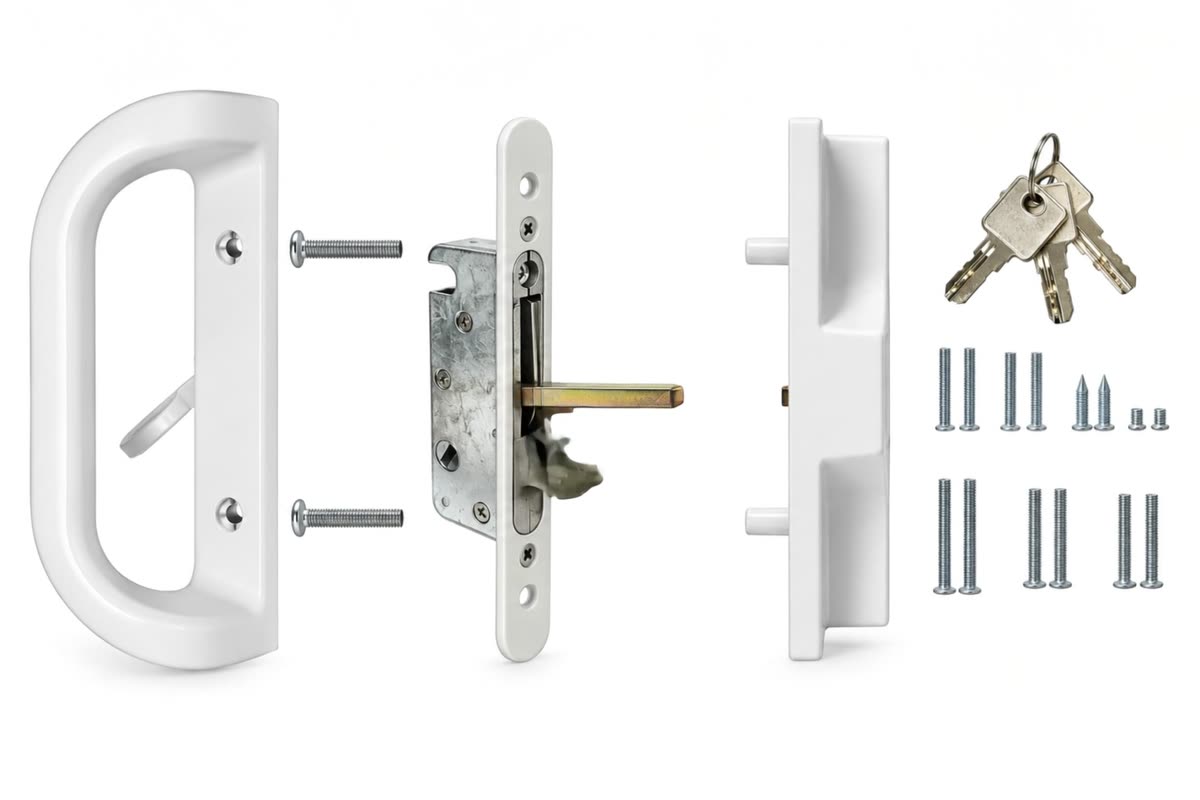
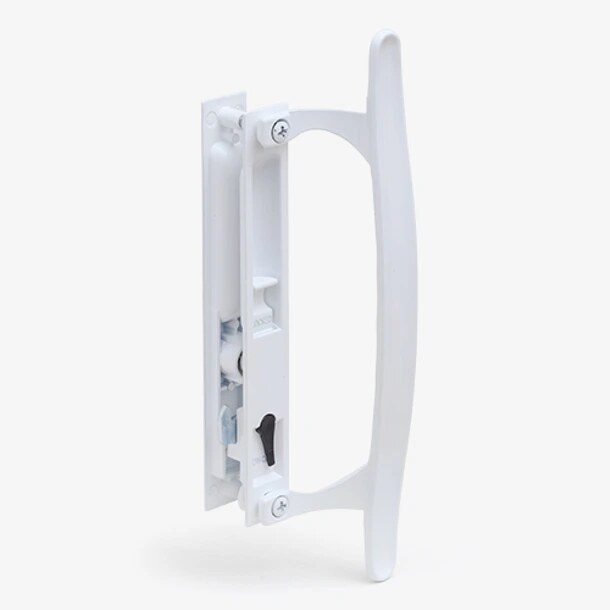
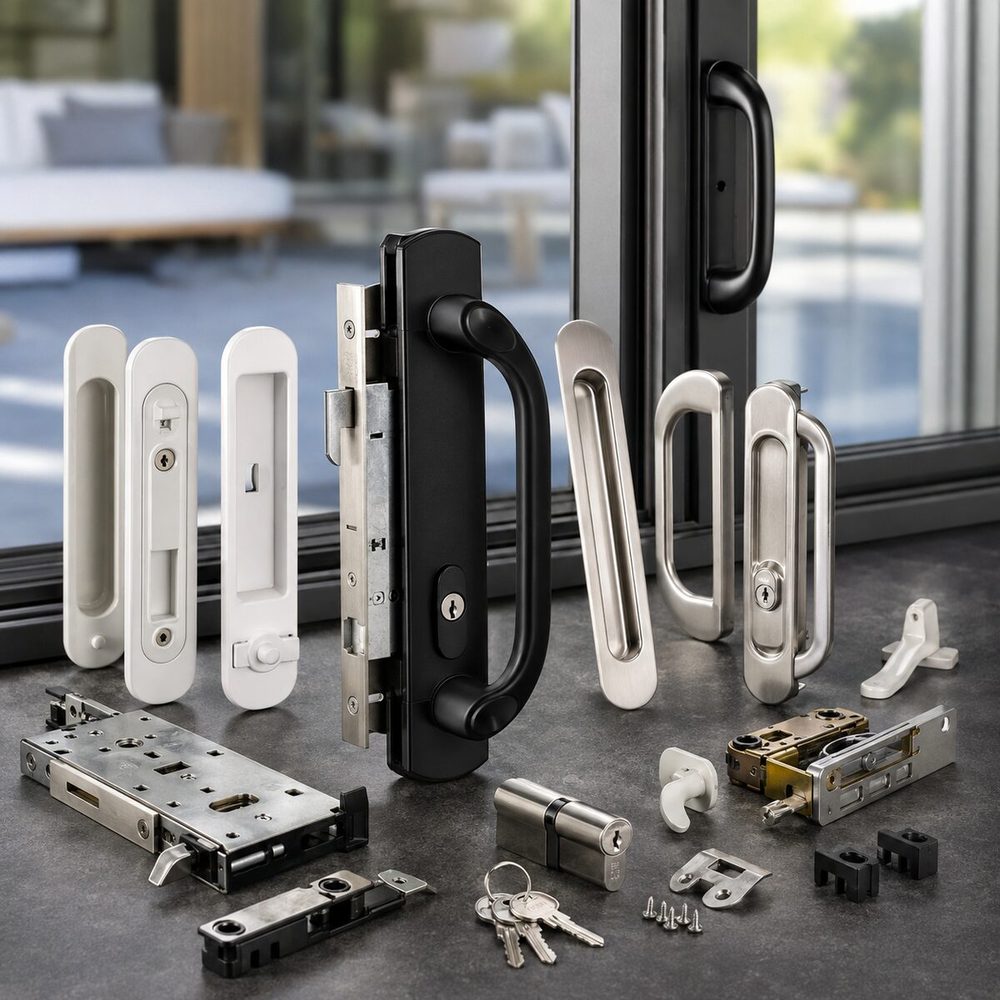
A lock inspection can start with two questions. Can the mechanism operate at all, and can it reach its receiving piece when the panel is fully closed? A worn lever or internal part can fail even with the panel positioned correctly. A jamb, wheel or frame issue can create a similar complaint when the latch never lines up. A report that includes the width of the closing gap in words and the motion of the lever helps separate the two. Ask whether the repair changes the latch, keeper or panel position. Confirm what counts as fully latched for the actual hardware after the work.
Compare the repair and replacement options
Ask whether the adjustable parts can hold their position and whether the frame is stable. If the opening needs more work, get the relevant scope in writing.
Consider the job at three levels. A compatible component can restore a sound door. A panel replacement can make sense if the frame and hardware support an available match. A complete unit can address an opening whose frame or layout needs to change. Ask the technician to explain which level deals with the issue and what evidence supports it. Include the clearance, appearance and threshold you expect when finished. If a past part is discontinued or concealed damage is found, request a new description of the available scope. A proposal should help you compare actual outcomes instead of choosing by the size of the part alone.
Share any access or clearance restriction
A narrow landing, raised patio or managed unit can affect how the panel is handled. Give the route from indoors and any exterior access that exists.
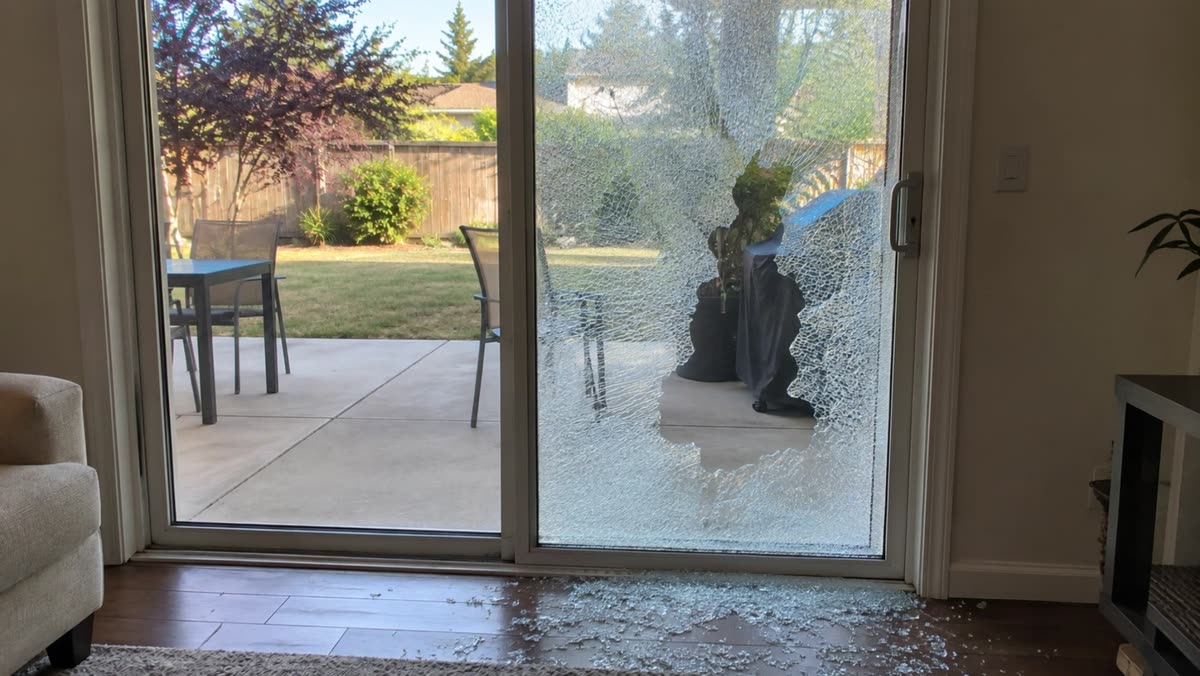
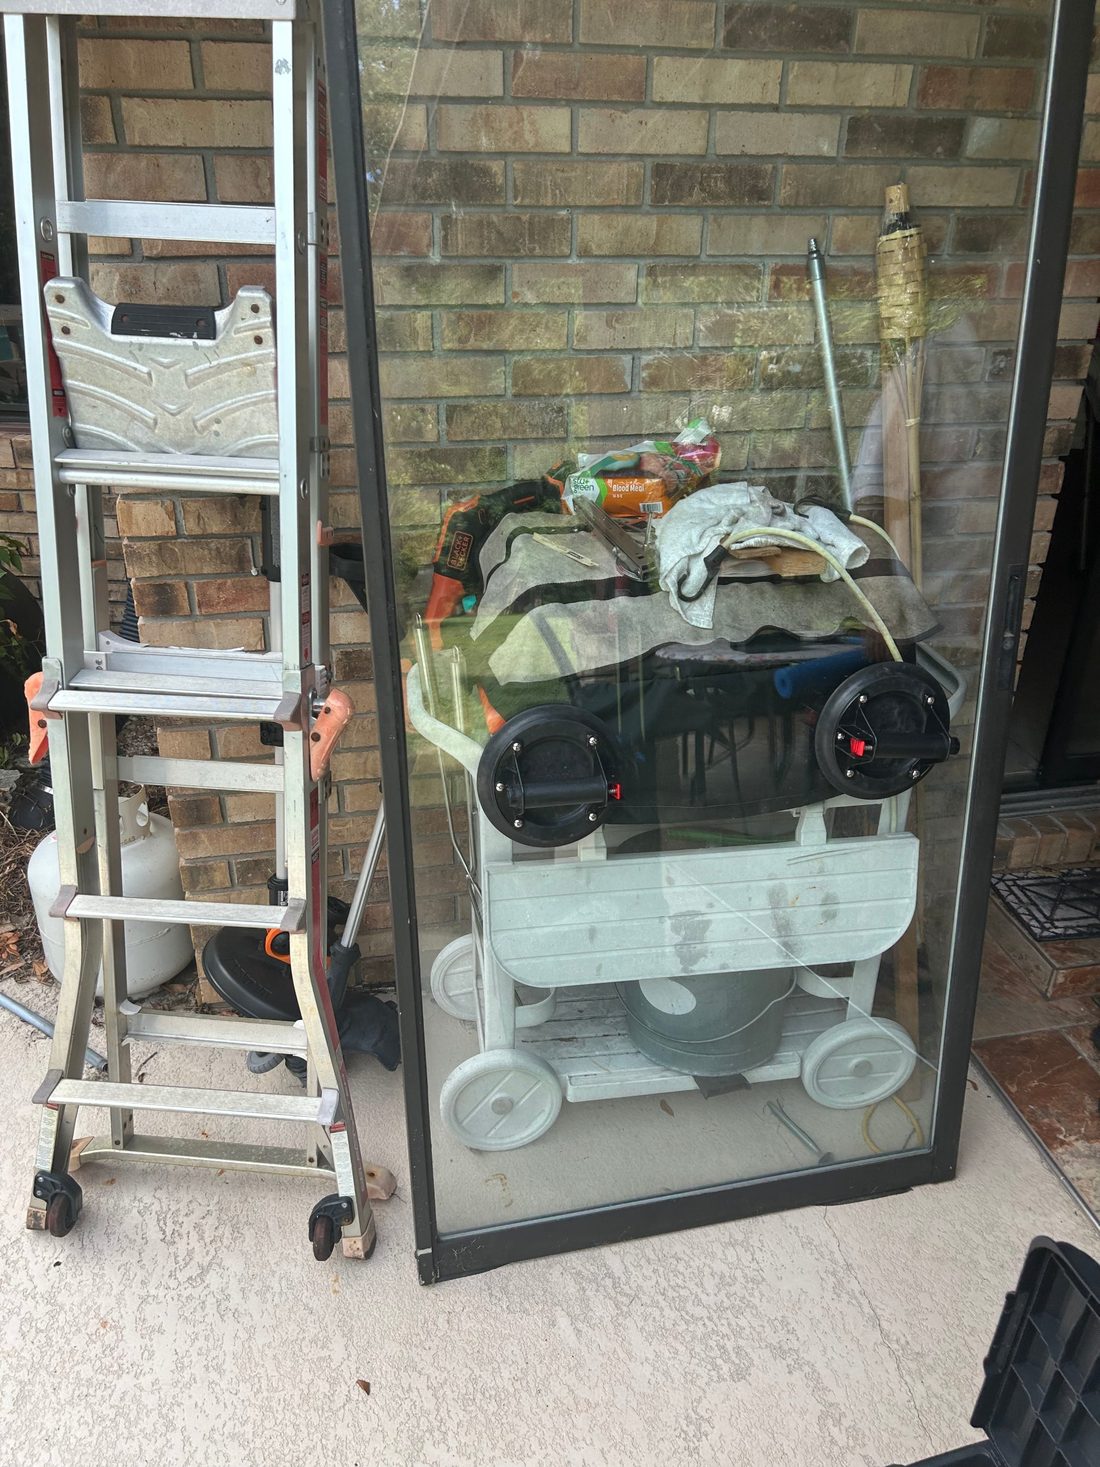
Access begins before the technician reaches the door. For a home, include a gate, raised deck or room that can be entered only from inside. For a managed property, identify the floor, elevator or loading procedure and the person who can arrange entry. A wide glass panel can require more space to handle than a photo of the opening suggests. Describe the route using the surfaces and steps that actually exist. If the door cannot safely be moved, leave that fact in the booking notes. Access details let the repair team plan a visit around the opening as it is, including who will be present.
Verify movement through the former rub point
Check that the panel clears the frame through the full range and closes normally. Ask whether a repair changed the latch or seal contact.
Use the action the occupant performs in daily life as the finish check. Bring the door from rest through the original hard spot and let it reach the closing edge with normal effort. Confirm any seal or gap that was part of the scope. Pay attention to the threshold and how the latch feels if those affect use. Ask what a future change might look or sound like and where to find the care information for the installed part. A demonstration is more useful when it reflects the person and route that originally prompted the call. Give the technician a chance to see any issue that remains.
Local examples in Clairemont Mesa and La Mesa
A Clairemont Mesa owner might first notice contact after replacing a floor finish. A La Mesa door may have a rub near the jamb together with a handle that needs lifting. In a Mission Valley condo, the frame can need an assessment before a building will approve changes at the exterior opening. In each case, describe the position and timing rather than ordering a part based on the sound alone.
Questions to ask
Does rubbing at the top always mean the frame has shifted?
No single point identifies the cause. The moving panel, wheel adjustment, guide and opening should be checked together.
Can a new seal stop the scrape?
A compatible seal can help if that is the material making contact. A bent component or low panel needs its own evaluation before the strip is changed.
What if the rub started after a repair?
Share the original scope and where it improved. Note how long the door worked normally and the current contact point.
Local service and related pages
Explore Sliding Door Frame Repair and Alignment, Sliding Door Panel Adjustment, Sliding Door Gap Repair. Service-area details are available for Clairemont Mesa, La Mesa, Mission Valley. Call 619-389-3123 or send a service request to describe the opening at your property.