
A seal that is loose, flattened or missing can make the room feel different even when the glass panel slides well. Finding the right weatherstrip begins with where it belongs and how the door contacts it. A repair can also involve panel fit if the original seal wore unevenly or the door no longer reaches its closing surface.
Name the surface the strip seals
Look from indoors at where the strip sits as the panel closes. Report a displaced strip and any extra pressure at the handle.
A seal only works where the two intended surfaces meet. Look at the length of the strip and the closing position that brings it into contact. A compressed or missing area can let a narrow draft through, while a loose end can start rubbing before the panel reaches the jamb. On an older opening, compare the attached strip with any loose piece you can see safely. Bring up a recent part change or new drag at the last inch. Ask which fit and contact the technician will verify before changing the seal. A result should preserve movement and usable latching while addressing the original draft or visible light.
Match attachment and shape
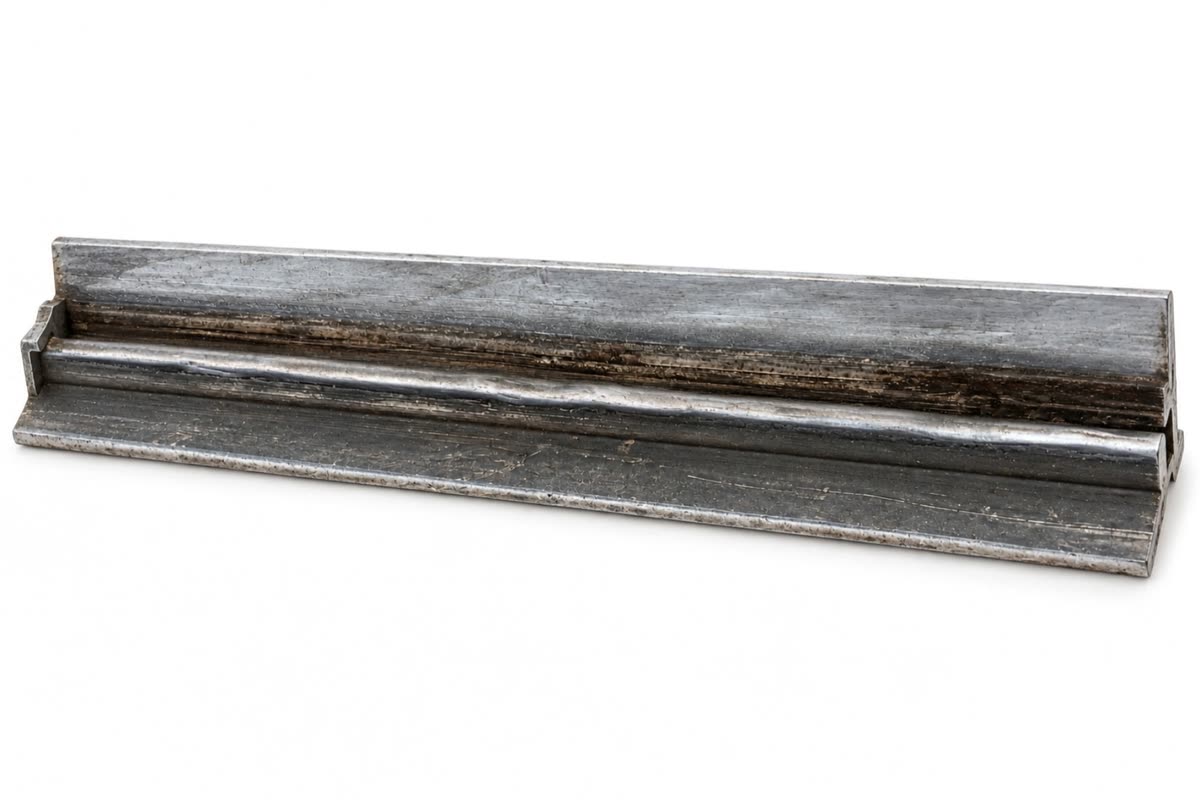
Ask whether the original uses a slot, retainer or other attachment. Compare the profile and contact surface before deciding a part fits.
Show the old strip in place before choosing its replacement. The contact face, the channel that holds it and the direction the panel travels all matter. A thicker seal can increase the effort at the handle, and the correct profile may differ along the jamb and center overlap. Record whether the original flattened evenly or only where one corner passes. A localized change in wear can help identify whether fit needs attention too. Ask the technician what the installed strip will contact, which parts will stay and how they will check movement and latching once the seal is fitted.
Tell where air reaches the room
Identify the side, height and closed position. Include whether the gap appears through the whole edge or only near a corner.
Give a gap a location and a shape. A narrow line that runs the entire meeting edge suggests a different contact condition from a gap that widens toward one corner of the closing jamb. Show the full opening from indoors, then the section where light or air is most noticeable. Record the time and direction of exposure if that changes what you see. Look at whether the latch is fully engaged and the panel can move with ordinary effort. Ask the technician to identify which gap is part of the design and which one indicates a seal, panel or frame issue.
Check the panel position before replacing the strip
A low panel can wear one end of a seal faster than the other. Describe how it reaches the jamb and whether it needs lifting.
Panel height affects more than the bottom of the opening. A door held a little lower at one end can touch the jamb early, leave a wedge-shaped gap and miss the keeper. That explains why the effort at the handle, the closing fit and the lock often change together. A technician can compare clearances at both ends and establish whether the change is a supported adjustment or evidence of a component that will no longer hold its position. An adjustment that moves the panel away from one contact point should also be checked across the full travel and at the latch. Share any earlier adjustment and how long it held.
Look at the seal between panels
If air comes through the middle, inspect the contact line where the profiles overlap. A replacement strip may need the meeting edges to align first.
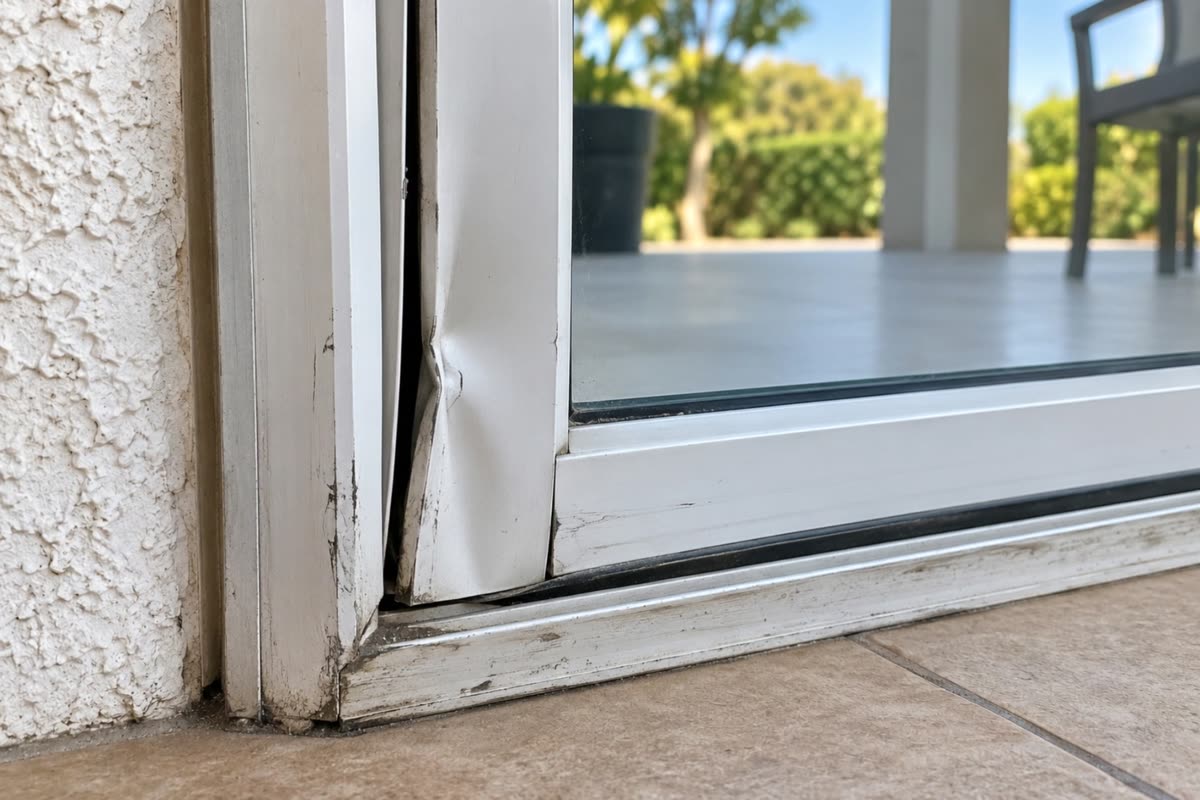
Use the meeting line as a reference even if the latch works. On many systems, the center edges are shaped to overlap when the door reaches the jamb. The amount of overlap can change if one panel drops or the profile is bent. Compare the top, middle and bottom from a safe indoor position. A loosened sealing strip may be visible on one edge, while a scrape or uneven space may indicate that fit needs to be checked first. Ask which profile or sealing surface is being addressed and how the repair will be verified at full closure as well as during movement.
Keep water paths open
Identify the sill and drainage outlets by the product instructions. The weatherstrip has a different job from the path that lets water leave.
Many window and patio door systems have sill channels that collect small amounts of incidental water and direct it outside. The outlets can be hard to distinguish from hardware openings. Follow the product's diagram or instructions when identifying them. A sill with a visible exterior drain behaves differently from a gap between the door frame and the wall. Photograph the first wet location and give the direction of exposure. Sealing an outlet or putting material into a channel can redirect water instead of fixing the problem. A repair plan should preserve drainage while addressing the route that lets water reach the indoor side.
Care for exposed finishes
Describe residue, a worn surface or a hardened strip separately. Use maker-specific cleaning guidance around the exposed track and seal.
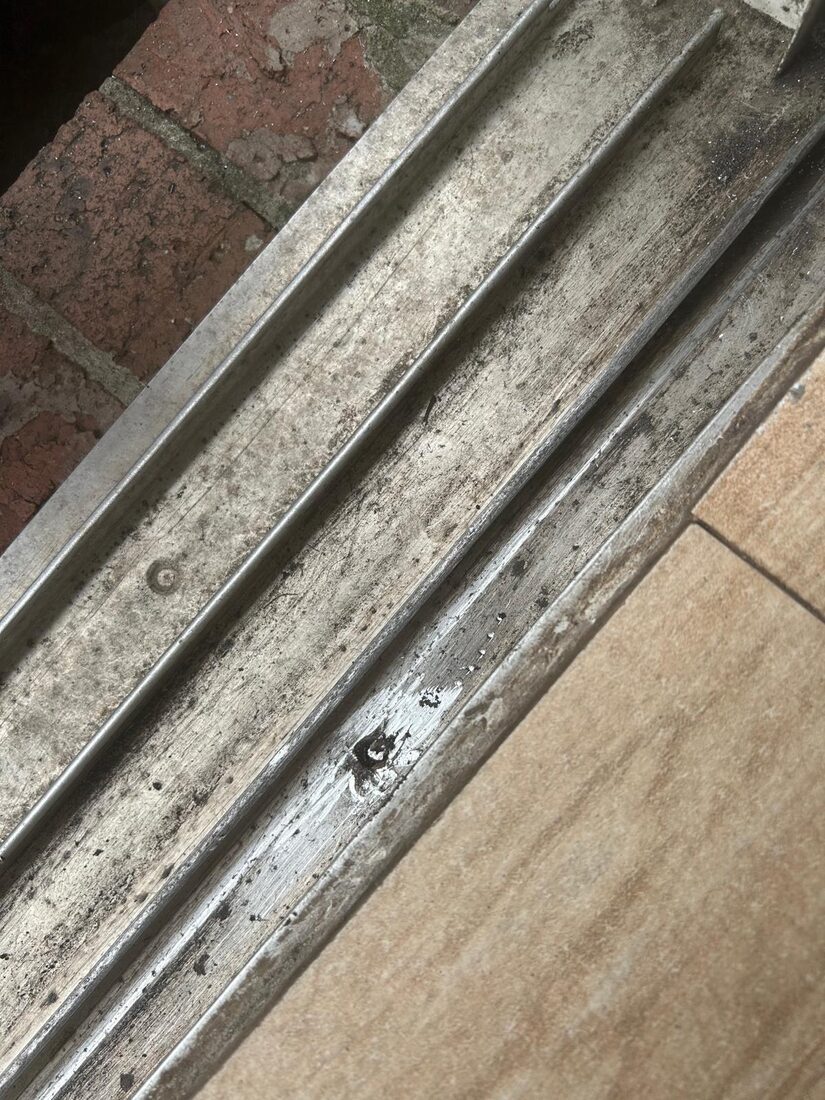
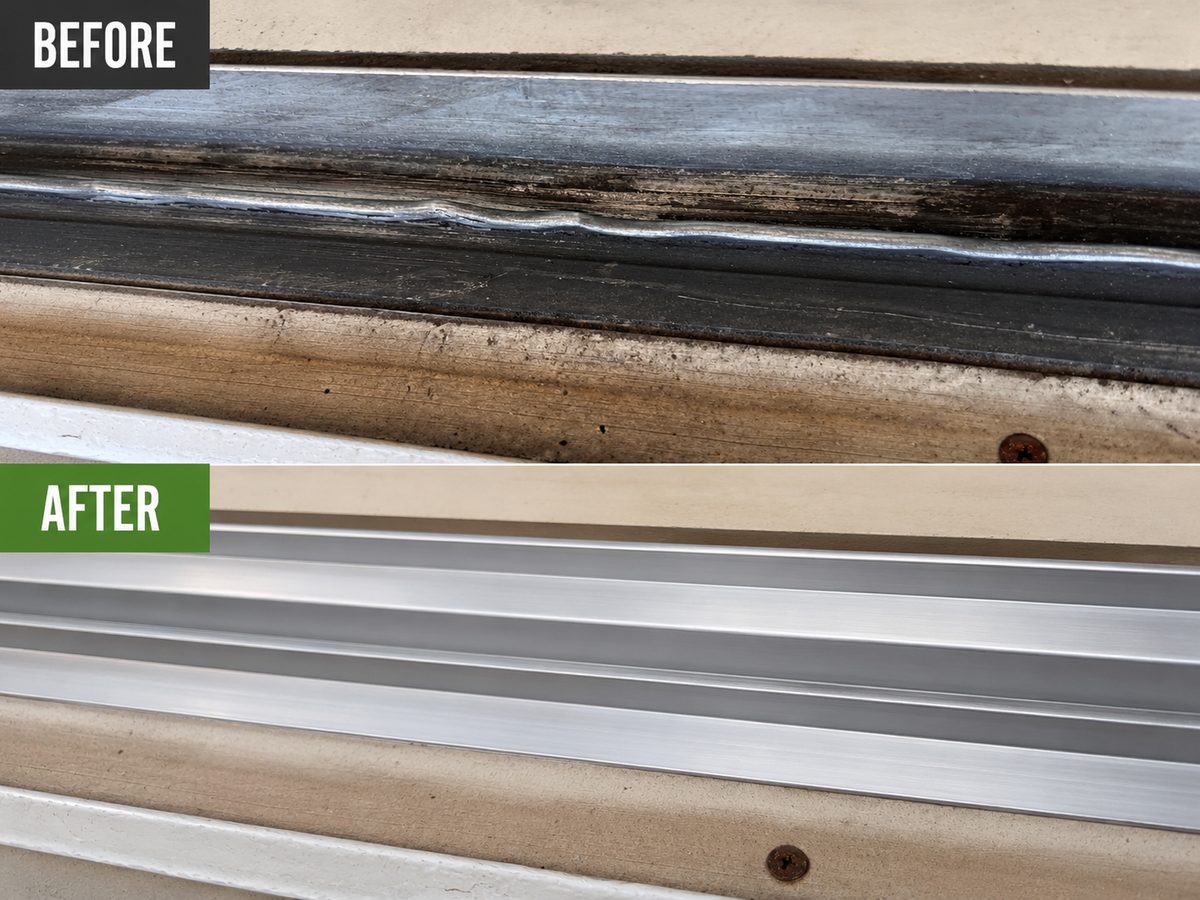
Different exterior finishes require compatible care. A painted frame, metal running strip and coated glazing can look as if they need the same cleaner when their instructions differ. Use the maker's guide for the surface involved. Avoid forcing grit across a finish with a hard tool. If a patch remains after normal care, document it before applying a stronger product. A picture of how far the mark extends can help distinguish surface residue from damage or material wear. Keep the rail and latch symptoms separate from appearance so the person inspecting the door can discuss which conditions affect operation and which affect finish.
Share any previous replacement
Tell us when a new strip was fitted and whether the door became harder to latch afterward. The timing can help identify a profile or fit issue.
The order of events can narrow a service request. Record whether the problem followed a storm, flooring work, a rail adjustment, glass replacement or an impact, or whether it developed gradually with daily use. Those details give a technician a reason to look for a changed clearance, damaged component or condition that is recurring. A short timeline is more useful than guessing why the first service did not last. Include any earlier receipt or part description that identifies what changed. If the issue disappeared briefly and returned, note how the door behaved during that interval and whether the same location or latch is affected now.
Find the product's part information
A brand mark or receipt can help identify a series. Save a photo of the seal in place without removing the panel.
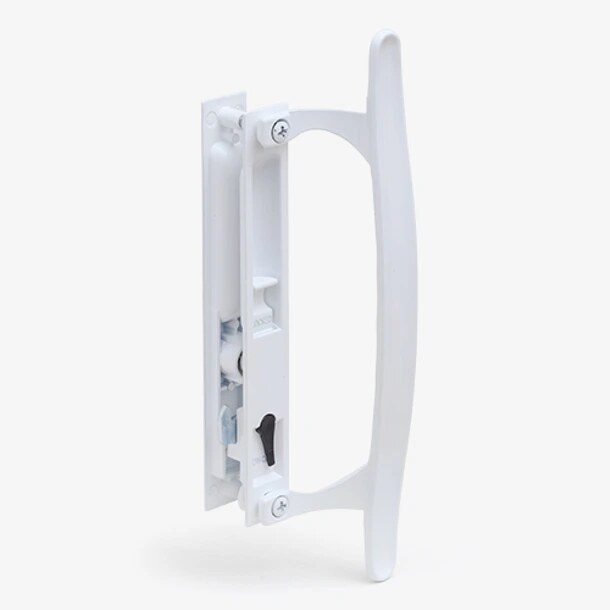
Use the clearest record you already have. The manufacturer's product name, a glass mark and an invoice can each identify a different part of the opening. Write down where you saw the detail. A label on a handle may identify only that hardware, while a door serial number can identify the original frame series. Keep a wide photo with the information so a technician can match the record to the right opening. If a previous owner changed the glass or wheels, bring the paperwork if available. A verified measurement or fitting check should still be part of selecting a component for the actual door.
Plan the actual scope
Ask what seal will change and whether adjustment is included. Confirm whether it will change how the panel reaches the latch.
Write the desired outcome next to the symptom before approving work. For a door that catches, it could be normal effort over the original trouble spot and a latch that engages without lifting. For a glass job, it could be a specified replacement unit in a sound frame and a panel that closes normally. Ask what parts are covered, what remains in place and what would require a separate decision. For a powered entrance, include the site contact and operating checks. The written scope should let you and the provider agree on which opening and function are being addressed, even if an inspection changes the proposed work.
Test the fit and use afterward
Operate the slider normally and check the location of the former draft. Ask which model-specific care applies to the new strip.
The most useful final check repeats the ordinary action that was difficult before the visit. Open the panel gently, move through the original problem area and close it fully. Then check the latch, the transition at the threshold and any separate screen. Look for scraping or gaps from a safe position. Ask the technician which care instructions apply and which changes would justify calling again. It is easier to describe a remaining issue while everyone is still looking at the same opening. A property with several users can benefit from a short note about normal operation so the next person understands how to confirm it is secure.
Local examples in Pacific Beach and Vista
A Pacific Beach door may show a worn strip next to an exposed sill, while a Vista slider may first show a draft after an earlier adjustment. A Solana Beach condo could also need approval if a repair changes a visible finish. State which edge is affected and whether the door still travels freely. That is more useful than choosing a weatherstrip by width alone.
Questions to ask
What if the new strip makes the door harder to close?
Report when the extra effort begins. The profile, attachment or panel position may need another look.
Are all seal materials interchangeable?
The correct part depends on how the door is designed to meet the strip. Ask how the chosen profile matches the attachment and clearance.
Can a seal fix water on the floor?
A failed seal may be part of the problem. The sill drainage, panel fit and surrounding opening should also be considered.
Local service and related pages
Explore Sliding Door Weatherstripping, Sliding Door Gap Repair, Sliding Door Panel Adjustment. Service-area details are available for Pacific Beach, Vista, Solana Beach. Call 619-389-3123 or send a service request to describe the opening at your property.