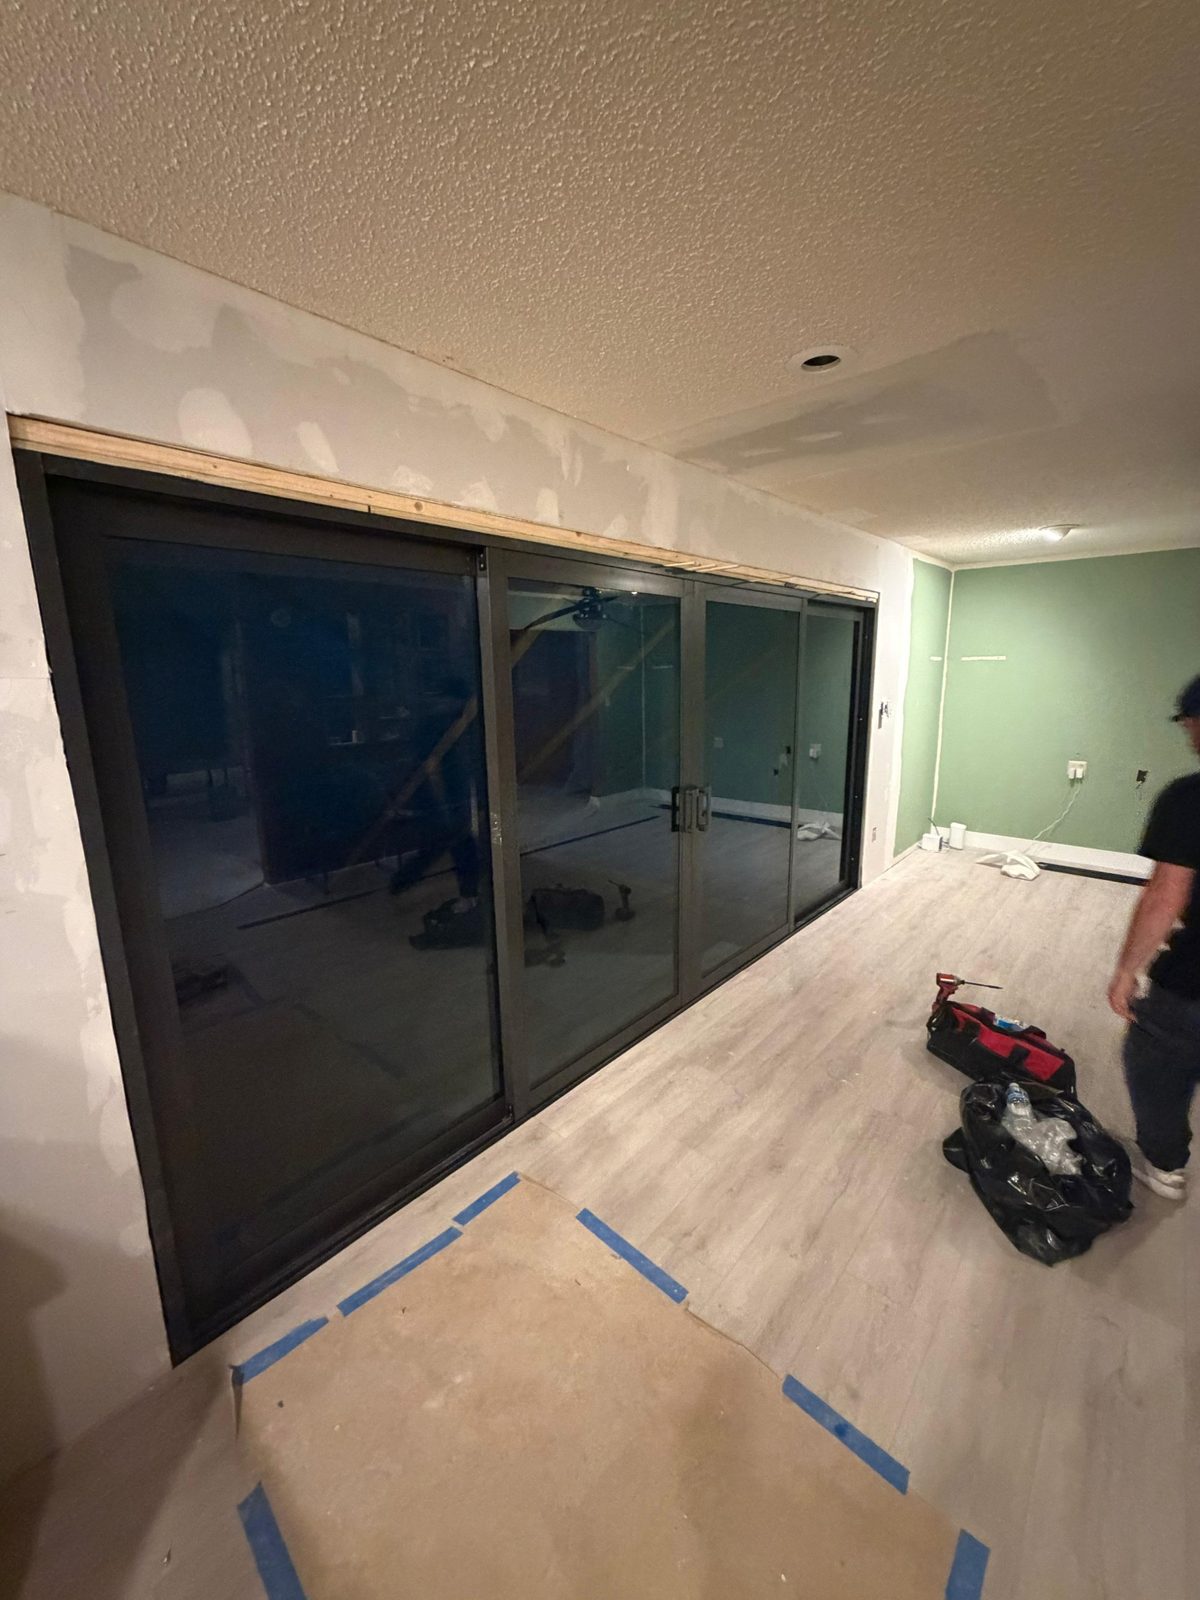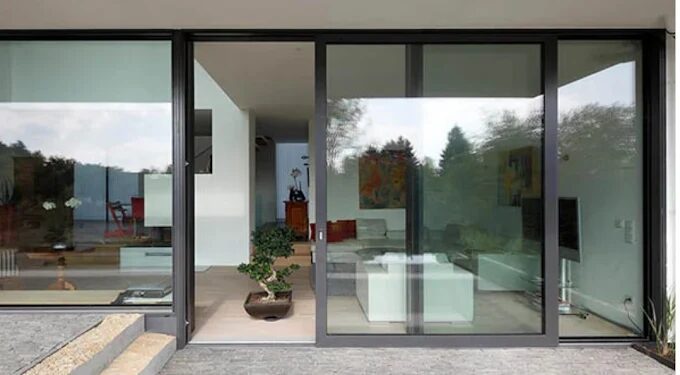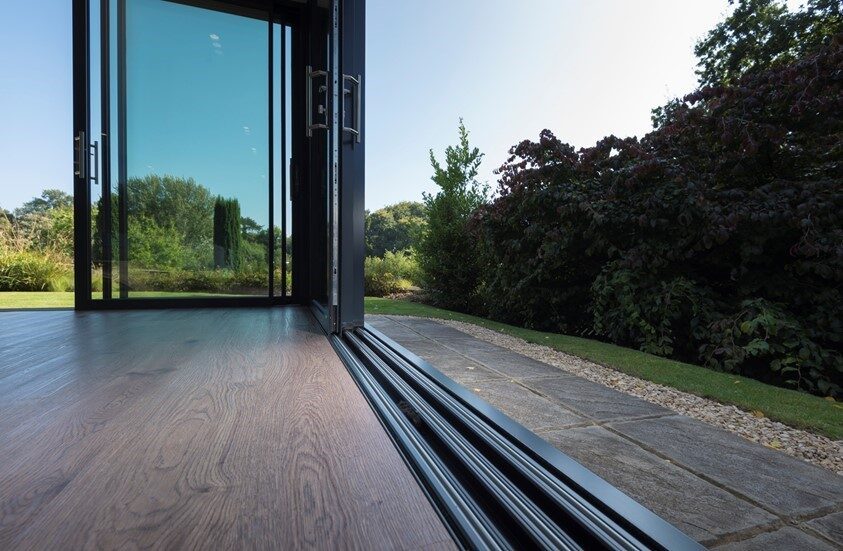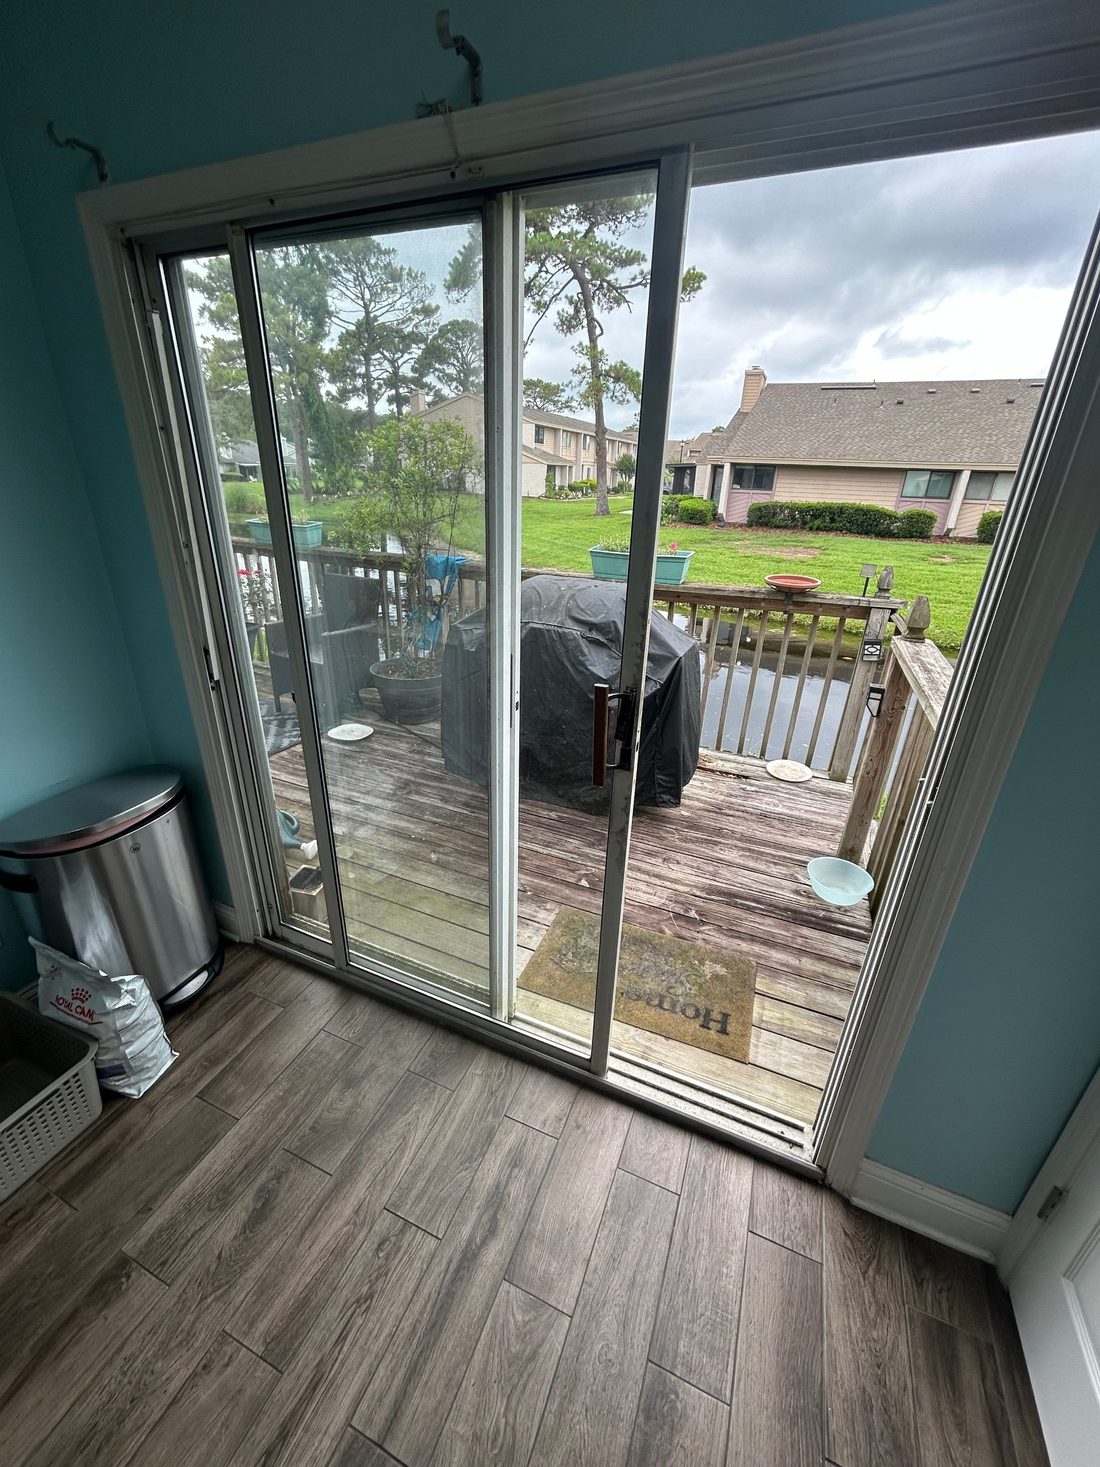
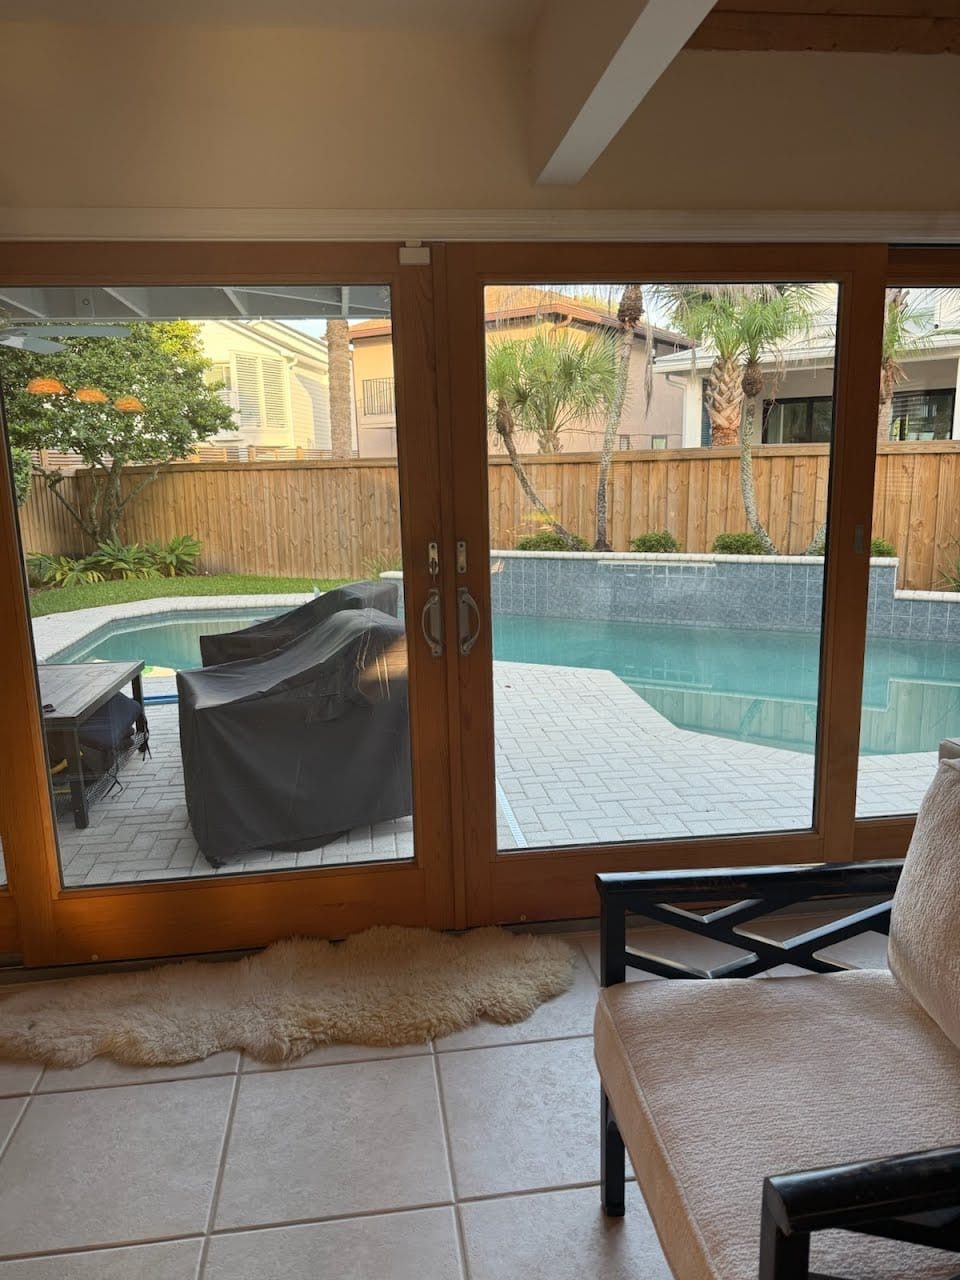
A line of daylight around a closed slider can be irritating, especially if air enters or the latch no longer feels right. The position and shape of that line are more useful than its appearance alone. Identify which parts are meant to meet and where the space changes. Then a technician can check fit, seals and the frame in the right order.
Draw the location and shape of the gap
Label top, bottom, closing side or middle. Compare the width along the full length instead of focusing on one close-up.
Give a gap a location and a shape. A narrow line that runs the entire meeting edge suggests a different contact condition from a gap that widens toward one corner of the closing jamb. Show the full opening from indoors, then the section where light or air is most noticeable. Record the time and direction of exposure if that changes what you see. Look at whether the latch is fully engaged and the panel can move with ordinary effort. Ask the technician to identify which gap is part of the design and which one indicates a seal, panel or frame issue.
Watch how the top and bottom reach the jamb
Describe which corner touches first. Share a straight-on picture of the whole closed panel and any visible rub.
A level-looking door can still miss an opening that is slightly bowed or out of square. A technician checks the relationship between the door and frame at multiple points. A narrow gap at one corner, repeated contact at the same trim location and a changing lock position provide a more complete picture than one isolated measurement. It is useful to mention any recent flooring, threshold or surrounding frame work. Some problems can be corrected by adjusting a sound panel, while others come from a damaged component or movement around the opening. Ask where contact occurs and what needs to be stable for the adjustment to hold.
Check whether lifting the pull changes the fit
If the door has to be lifted during normal locking, report that. A low corner may explain both the gap and the latch.
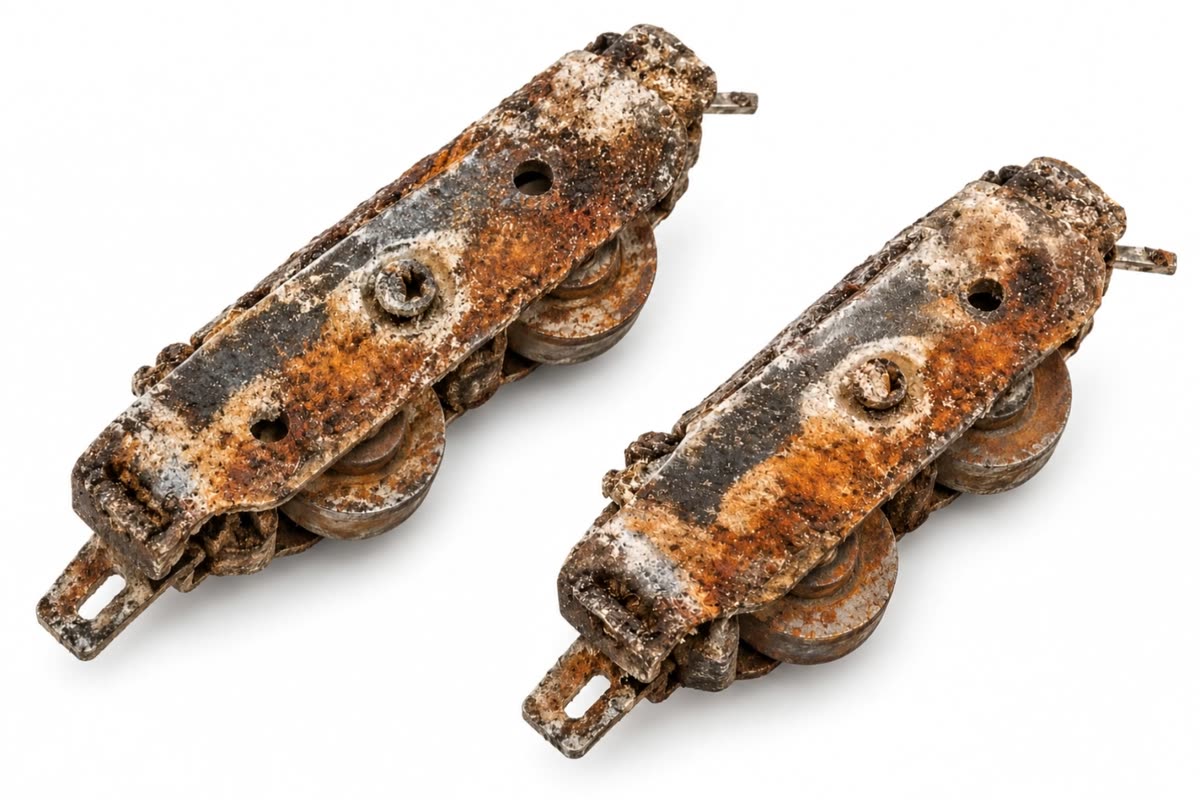
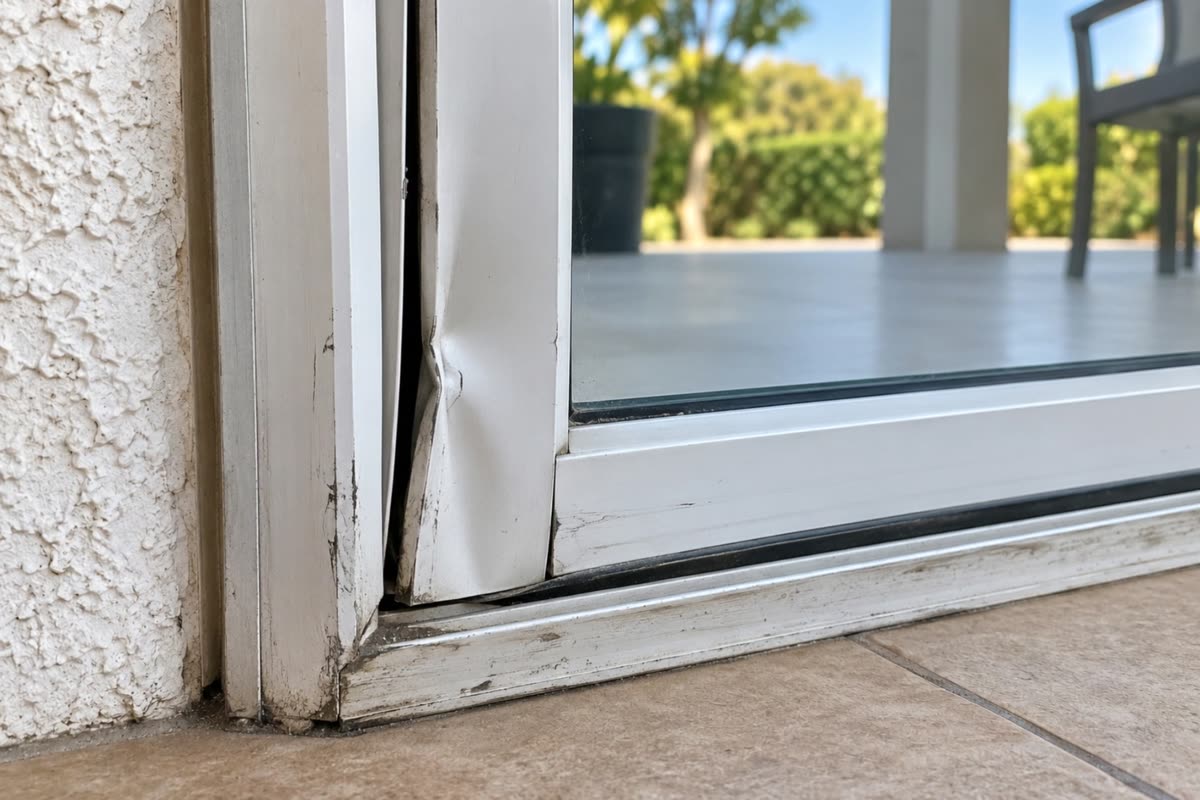
Read the closed panel from both sides of the opening rather than using the handle as a guide. A vertical edge that arrives high at one corner or leaves a small triangular space can be a sign that the panel is sitting unevenly. The inspection should show whether the wheels can be adjusted and hold the position. The actual support and frame condition also matter. Write down what a normal close requires today, such as a lift at the end or additional pressure at one spot. After any adjustment, check the screen clearance and the lock as well as how freely the panel rolls.
Inspect the meeting line as its own area
A line between the panels is a different location from the wall-side jamb. Note whether both edges overlap throughout their height.
Use the meeting line as a reference even if the latch works. On many systems, the center edges are shaped to overlap when the door reaches the jamb. The amount of overlap can change if one panel drops or the profile is bent. Compare the top, middle and bottom from a safe indoor position. A loosened sealing strip may be visible on one edge, while a scrape or uneven space may indicate that fit needs to be checked first. Ask which profile or sealing surface is being addressed and how the repair will be verified at full closure as well as during movement.
Locate missing or worn weatherstripping
Show the strip where it attaches and where the air passes. Ask whether the part is worn or the panel is failing to reach it.
A replacement strip has a shape, attachment and intended contact surface. Some profiles use a flexible fin or pile, while others compress as the door meets the jamb. The slot, channel or retainer needs to be suitable for the proposed part. A strip that contacts too soon can increase closing effort, and a thin profile can leave air or light where you started. Ask what will fit the original attachment and how it will work with the moving panel. When the old strip wore unevenly, find out whether the panel's position contributed before choosing a replacement based only on visible thickness.
Check how the latch actually seats
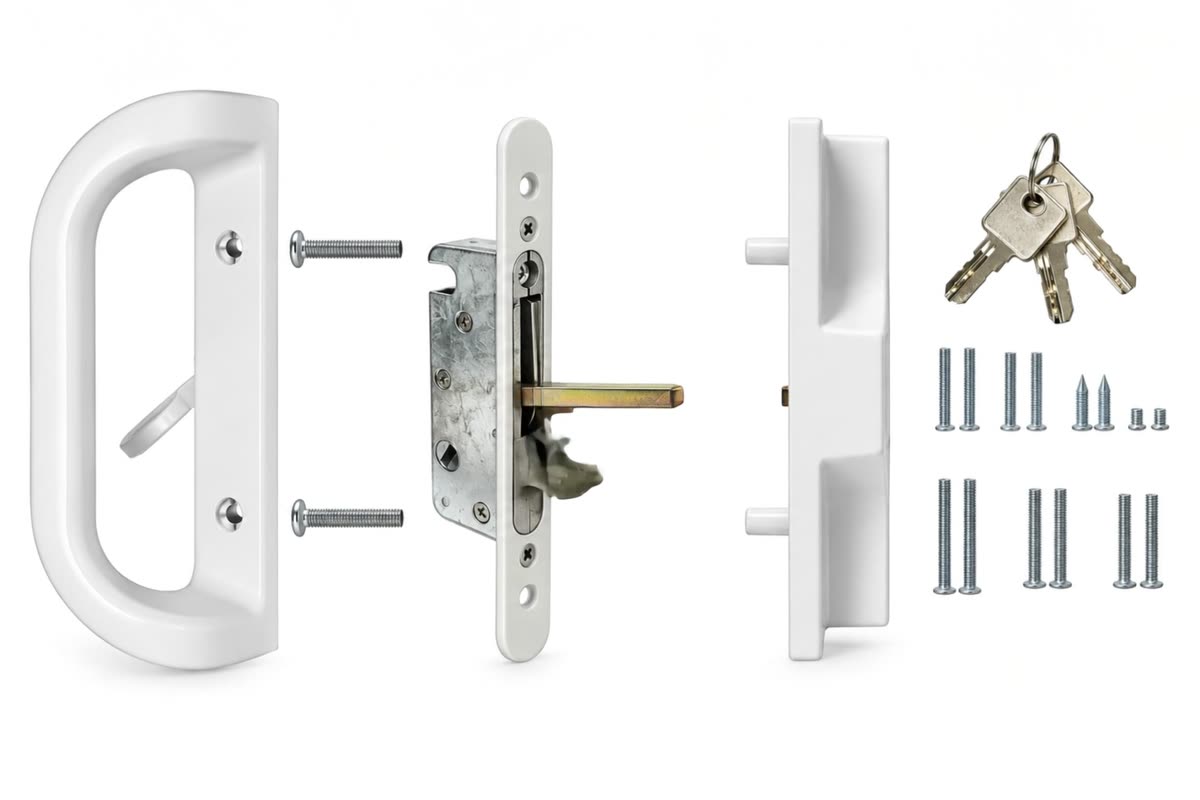
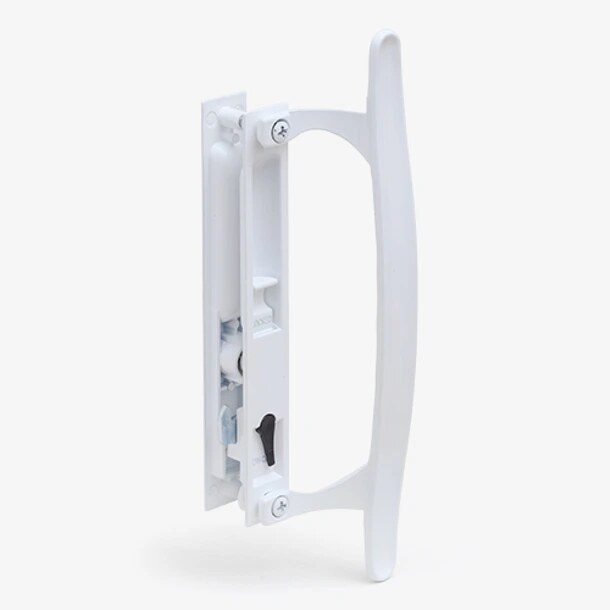
Report whether the latch holds the panel flush or needs extra pressure. The technician should evaluate the hardware and fit together.
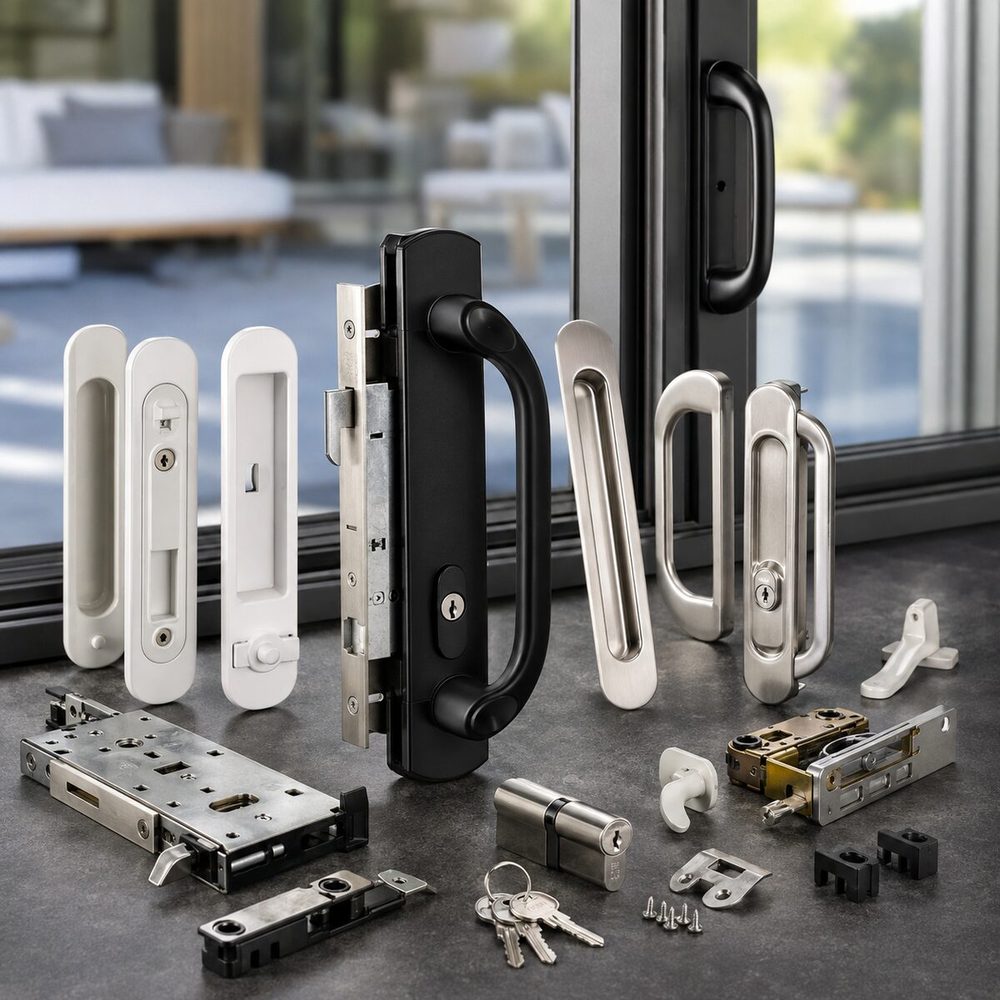
Most sliding door locks rely on the panel meeting a keeper at the correct height and depth. A latch that turns normally with the panel open but misses when closed often leads to an alignment check. A lever that spins or feels disconnected leads toward the link between handle and lock or the mechanism itself. Look at the relation of those parts without repeatedly forcing the lever. Ask what changed and which component is actually worn. After service, use ordinary closing force and confirm that engagement is clear. Mention if the latch issue leaves the opening unsecure or the patio route needed by occupants cannot be used.
Notice where air and water show up
A dry draft and a wet spot that first appears at the sill can lead to different checks. Record each location separately.
Water at a door can follow more than one route. It may appear first along an indoor floor, through side trim, or in a sill channel designed to carry water outside. A photograph taken while the first mark is visible is more informative than an image after water has spread. Record rain direction, recent work near the opening and whether the door was fully closed. Those details help distinguish a gap at the panel, a drainage issue and a concern around the wall or exterior surface. Ask which parts of the water path the door inspection can evaluate and which conditions require examination beyond the unit.
Report recent work around the frame
Tell us if flooring, trim or patio work preceded the gap. A change near the opening can affect clearance and how it sits.
Conditions at the edge of an opening can affect the work that is possible on the door itself. A new floor can change the clearance around a sill, and a patio surface or exterior trim can affect how water approaches it. Document changes to the surrounding area and show the full opening. A door technician can identify visible signs at the unit. The assessment can also explain when framing, wall or patio work needs a separate evaluation. Agree on who will handle related work and how the finished transition will be checked. It is easier to coordinate while the parts and access requirements are still being planned.
Preserve designed outlets and clearances
Identify the intended drainage path before closing a visible opening. Ask which spaces belong to the system and which should be corrected.
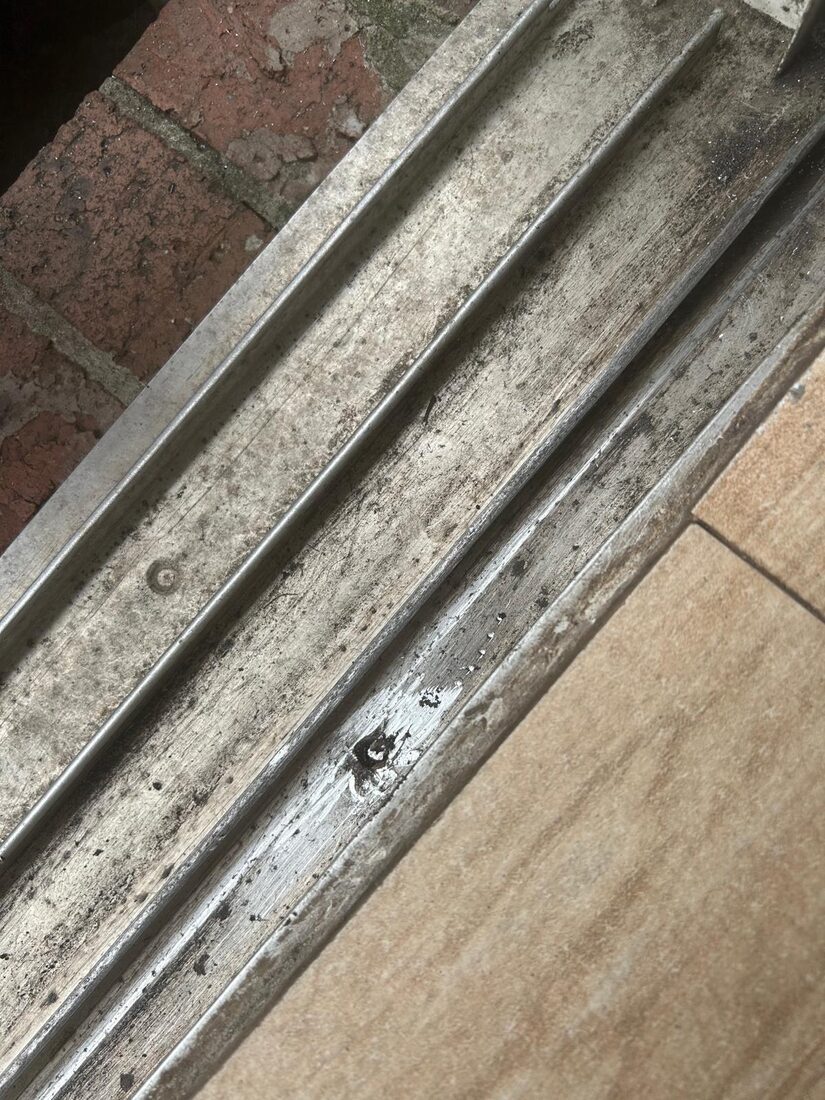
Start with the difference between water the sill is designed to collect and water that crosses the indoor side. The maker's diagram can show where the exterior exit is and which part of the threshold catches water. A past repair, settled patio surface or loose material can alter the observed path. Give the technician a view of the surrounding landing as well as the door. Record any condition after the water has had time to drain, such as a channel that stays full. An assessment can address accessible parts of the door and identify signs that water is reaching the opening from another source.
Compare the possible repairs
Request a description of the affected part, the plan and what should change in movement or sealing. Include any larger opening condition separately.
A good scope names the opening, explains the observed problem and lists the parts or work that address it. It can also identify which sound components will stay and what condition could lead to a separate quote. That makes it possible to compare a minor adjustment, a component repair and a larger replacement on the same terms. Ask how the completed work will be tested and who will approve any additional work once the opening can be fully inspected. If access or a needed part could require a return visit, discuss that before work begins. Keep those details with the address and the affected room or entrance.
Check whether the gap is gone during normal use
Close the door with ordinary effort and check the same location. Confirm that the panel still travels and locks properly.
The most useful final check repeats the ordinary action that was difficult before the visit. Open the panel gently, move through the original problem area and close it fully. Then check the latch, the transition at the threshold and any separate screen. Look for scraping or gaps from a safe position. Ask the technician which care instructions apply and which changes would justify calling again. It is easier to describe a remaining issue while everyone is still looking at the same opening. A property with several users can benefit from a short note about normal operation so the next person understands how to confirm it is secure.
Local examples in Carmel Valley and South Park
In Carmel Valley, a homeowner might see a light line at one top corner of a ground-floor slider. In South Park, the opening could show a thin line along the center overlap after earlier work. In La Mesa, a gap that widens toward the bottom might also coincide with a latch that needs lifting. These are three different descriptions. Use the one that matches the actual door.
Questions to ask
Should I measure the gap before I call?
An approximate location and full photo are usually more helpful than trying to measure a narrow spot. Say whether the gap changes from top to bottom.
Does a draft mean the full door needs replacement?
A fit or seal repair may address it if the opening and panel are sound. Ask for an inspection of the exact gap.
Can I just fill every visible space?
First identify the spaces that serve movement or drainage. The appropriate correction should preserve the door's intended operation.
Local service and related pages
Explore Sliding Door Gap Repair, Sliding Door Panel Adjustment, Sliding Door Interlock Repair. Service-area details are available for Carmel Valley, South Park, La Mesa. Call 619-389-3123 or send a service request to describe the opening at your property.